Please do take a little time to comment on the reviews & recipes, your feedback means a lot to me. And don't forget to share the recipes on your favorite social networks.
Many a times I have fresh dhaniya and pudina in my fridge but I don’t have the time to clean -wash- chop and use it. Or sometimes, when these herbs do not get used in time, they just rot or dry making it un-usable and I hate throwing veggies.
Therefore I started this procedure 😀
Now I can add these in my cooking in seconds (I do not generally use dhaniya or pudina for garnishing, but instead use it during my cooking, in dals, sabjis, or gravies) or I make instant dhaniya pudina chutneys now.
Let’s get started:
You will need- Fresh dhaniya/ coriander leaves Or Fresh Pudina/mint leaves Ice trays Ziplock bags
Procedure:
Clean the dhaniya or pudina leaves properly.
Submerge in water in a deep pan ( generally there’s a lot of dirt in these leaves)
Wash at least 3 times until the water comes out clear.
Put in a colander or “chhalnee” Or a cotton cloth to remove most of the water.
Chop finely. I use my food processor.
Now fill the ice trays with these chopped up leaves, stuff it properly. Add some water over the leaves and freeze.
After a few hours, take out the ice trays, keep out for 5-7 minutes and try to take the cubes out ( it becomes very easy to remove the cubes after 5-7 minutes)
Place in a labelled ziplock bag and put back in freezer. Use as and when required.
These come very very handy and for making quick chutneys, just toss 4-5 cubes of dhaniya, 2-3 cubes of Pudina, green chilies, garlic cloves, jeera, and salt, and pulse (give the icy cubes 3-4 minutes to soften so that the blades of your jar doesn’t go bad). You got your green chutney in minutes……some people add ice cubes while grinding to retain the green color, here you already have these ice cold.
Warnings: Chopping and freezing of Pudina/mint releases a lot of color and the ice trays may get discolored so better to use extra not-in-use ice trays, of course, these can be washed but it will take a lot of time and effort to clean the trays.
Share with me How you preserve these amazing herbs. Tag me on Instagram as #shaheenreviews@shine2308 if you like and use this method👍
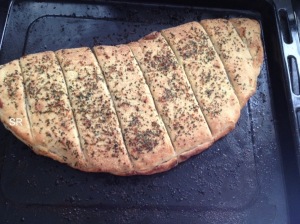
We love Domino’s garlic bread more than the pizza they offer and I tried replicating it at home.
This is an easy recipe, the only special thing this garlic bread needs is TIME !!! 90 minutes, to proof that is and then yum yum yum, comes out heavenly.
Garlic breadsticks is an all time favorite at our place and here’s how anyone can make it at home with ease and that too from scratch.
This recipe yields 2 portions of garlic breadsticks or around 14 garlic knots.
Garlic knots served after basting with garlic butter and sprinkled with cheese
Attention: Calorie conscious people, make it at your own risk 😉
The more butter you add in the end while serving, the more delicious it’s going to be.
Control the amount of yeast though because sometimes it smells a lot yeasty and that’s not what we want. These Garlic breadsticks go beautifully with soups as well, or pair it with a super creamy pink pasta, else have it on it’s own and you will love life…mmm…I love it to the core.
For an easy and delicious lunch, you can make these garlic breadsticks/ garlic knots, some chicken pasta and these delicious Peanut Butter Blossom cookies ( Recipe by the very talented Kathryn of braisedinakitchen) for satisfying that sweet craving 😋
My favorite nutritionist suggests eating Arbi / arvi at least once a week, so If you are bored of the usual sabji, you can try this version !! ahem ahem wink wink nudge nudge😉😉😉 ( I know there’s a lot of mayonnaise involved but we will replace the deep frying with roasting and that too with ghee, I promise 😜😜)
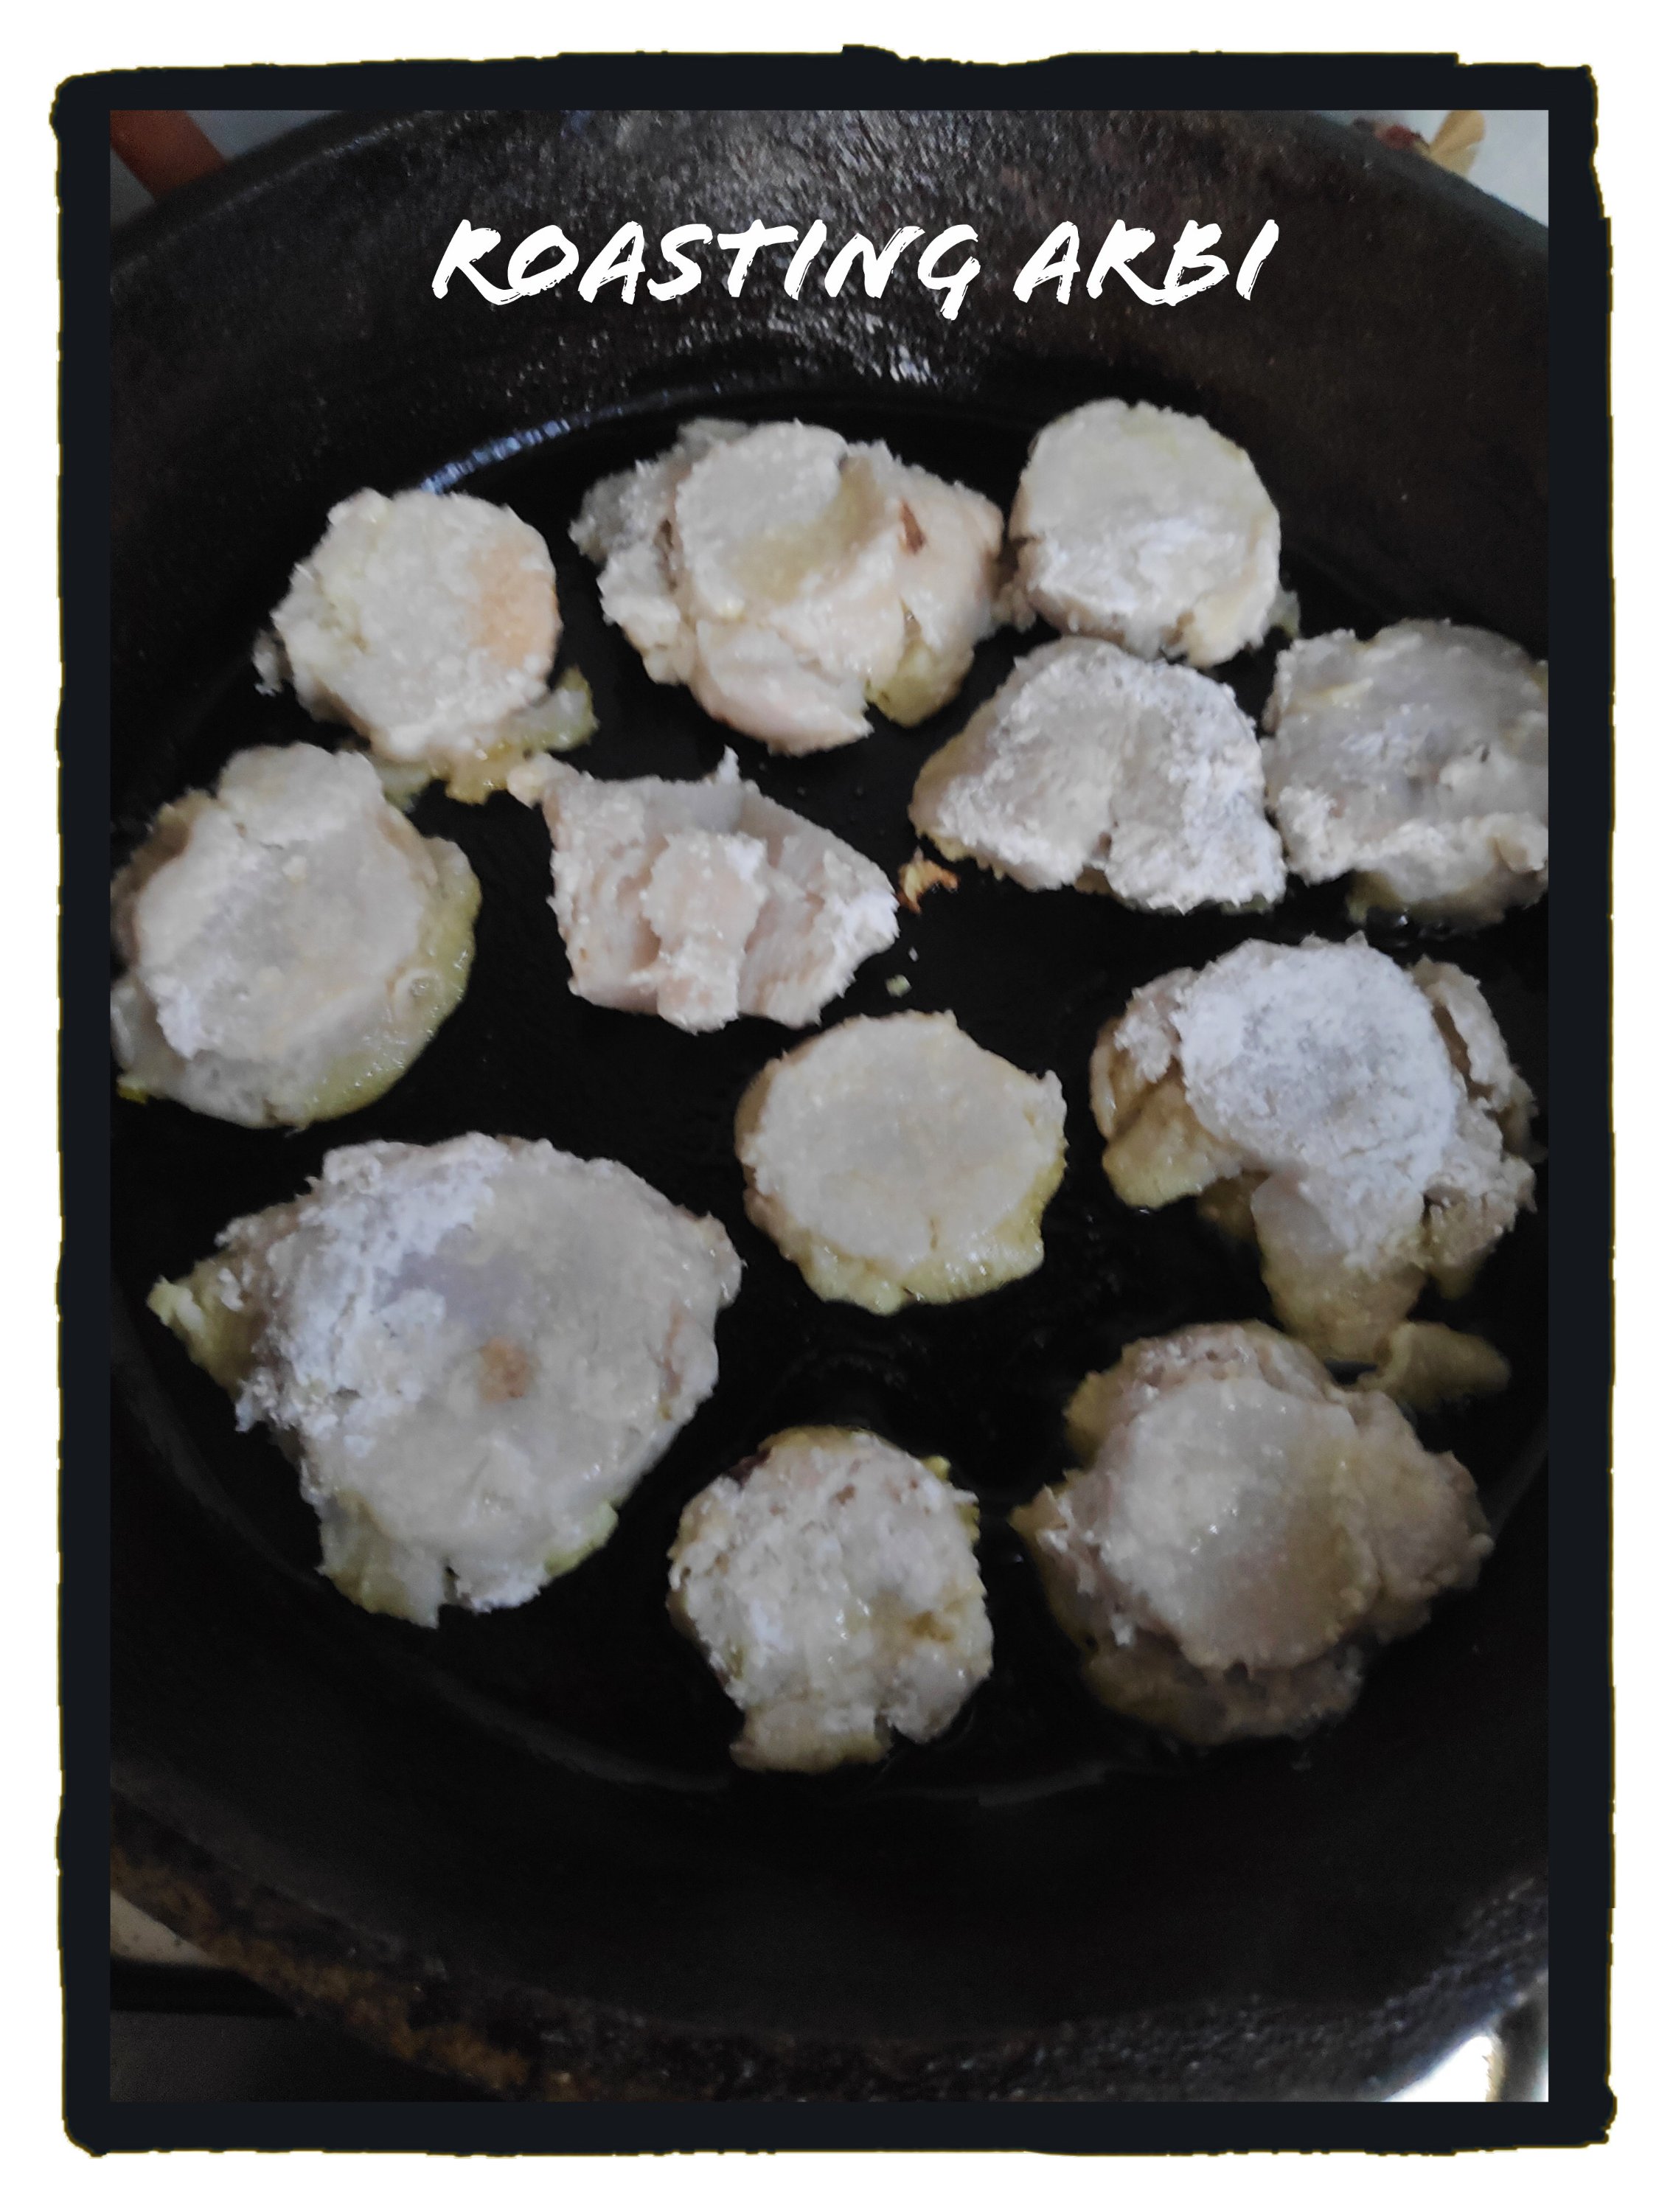
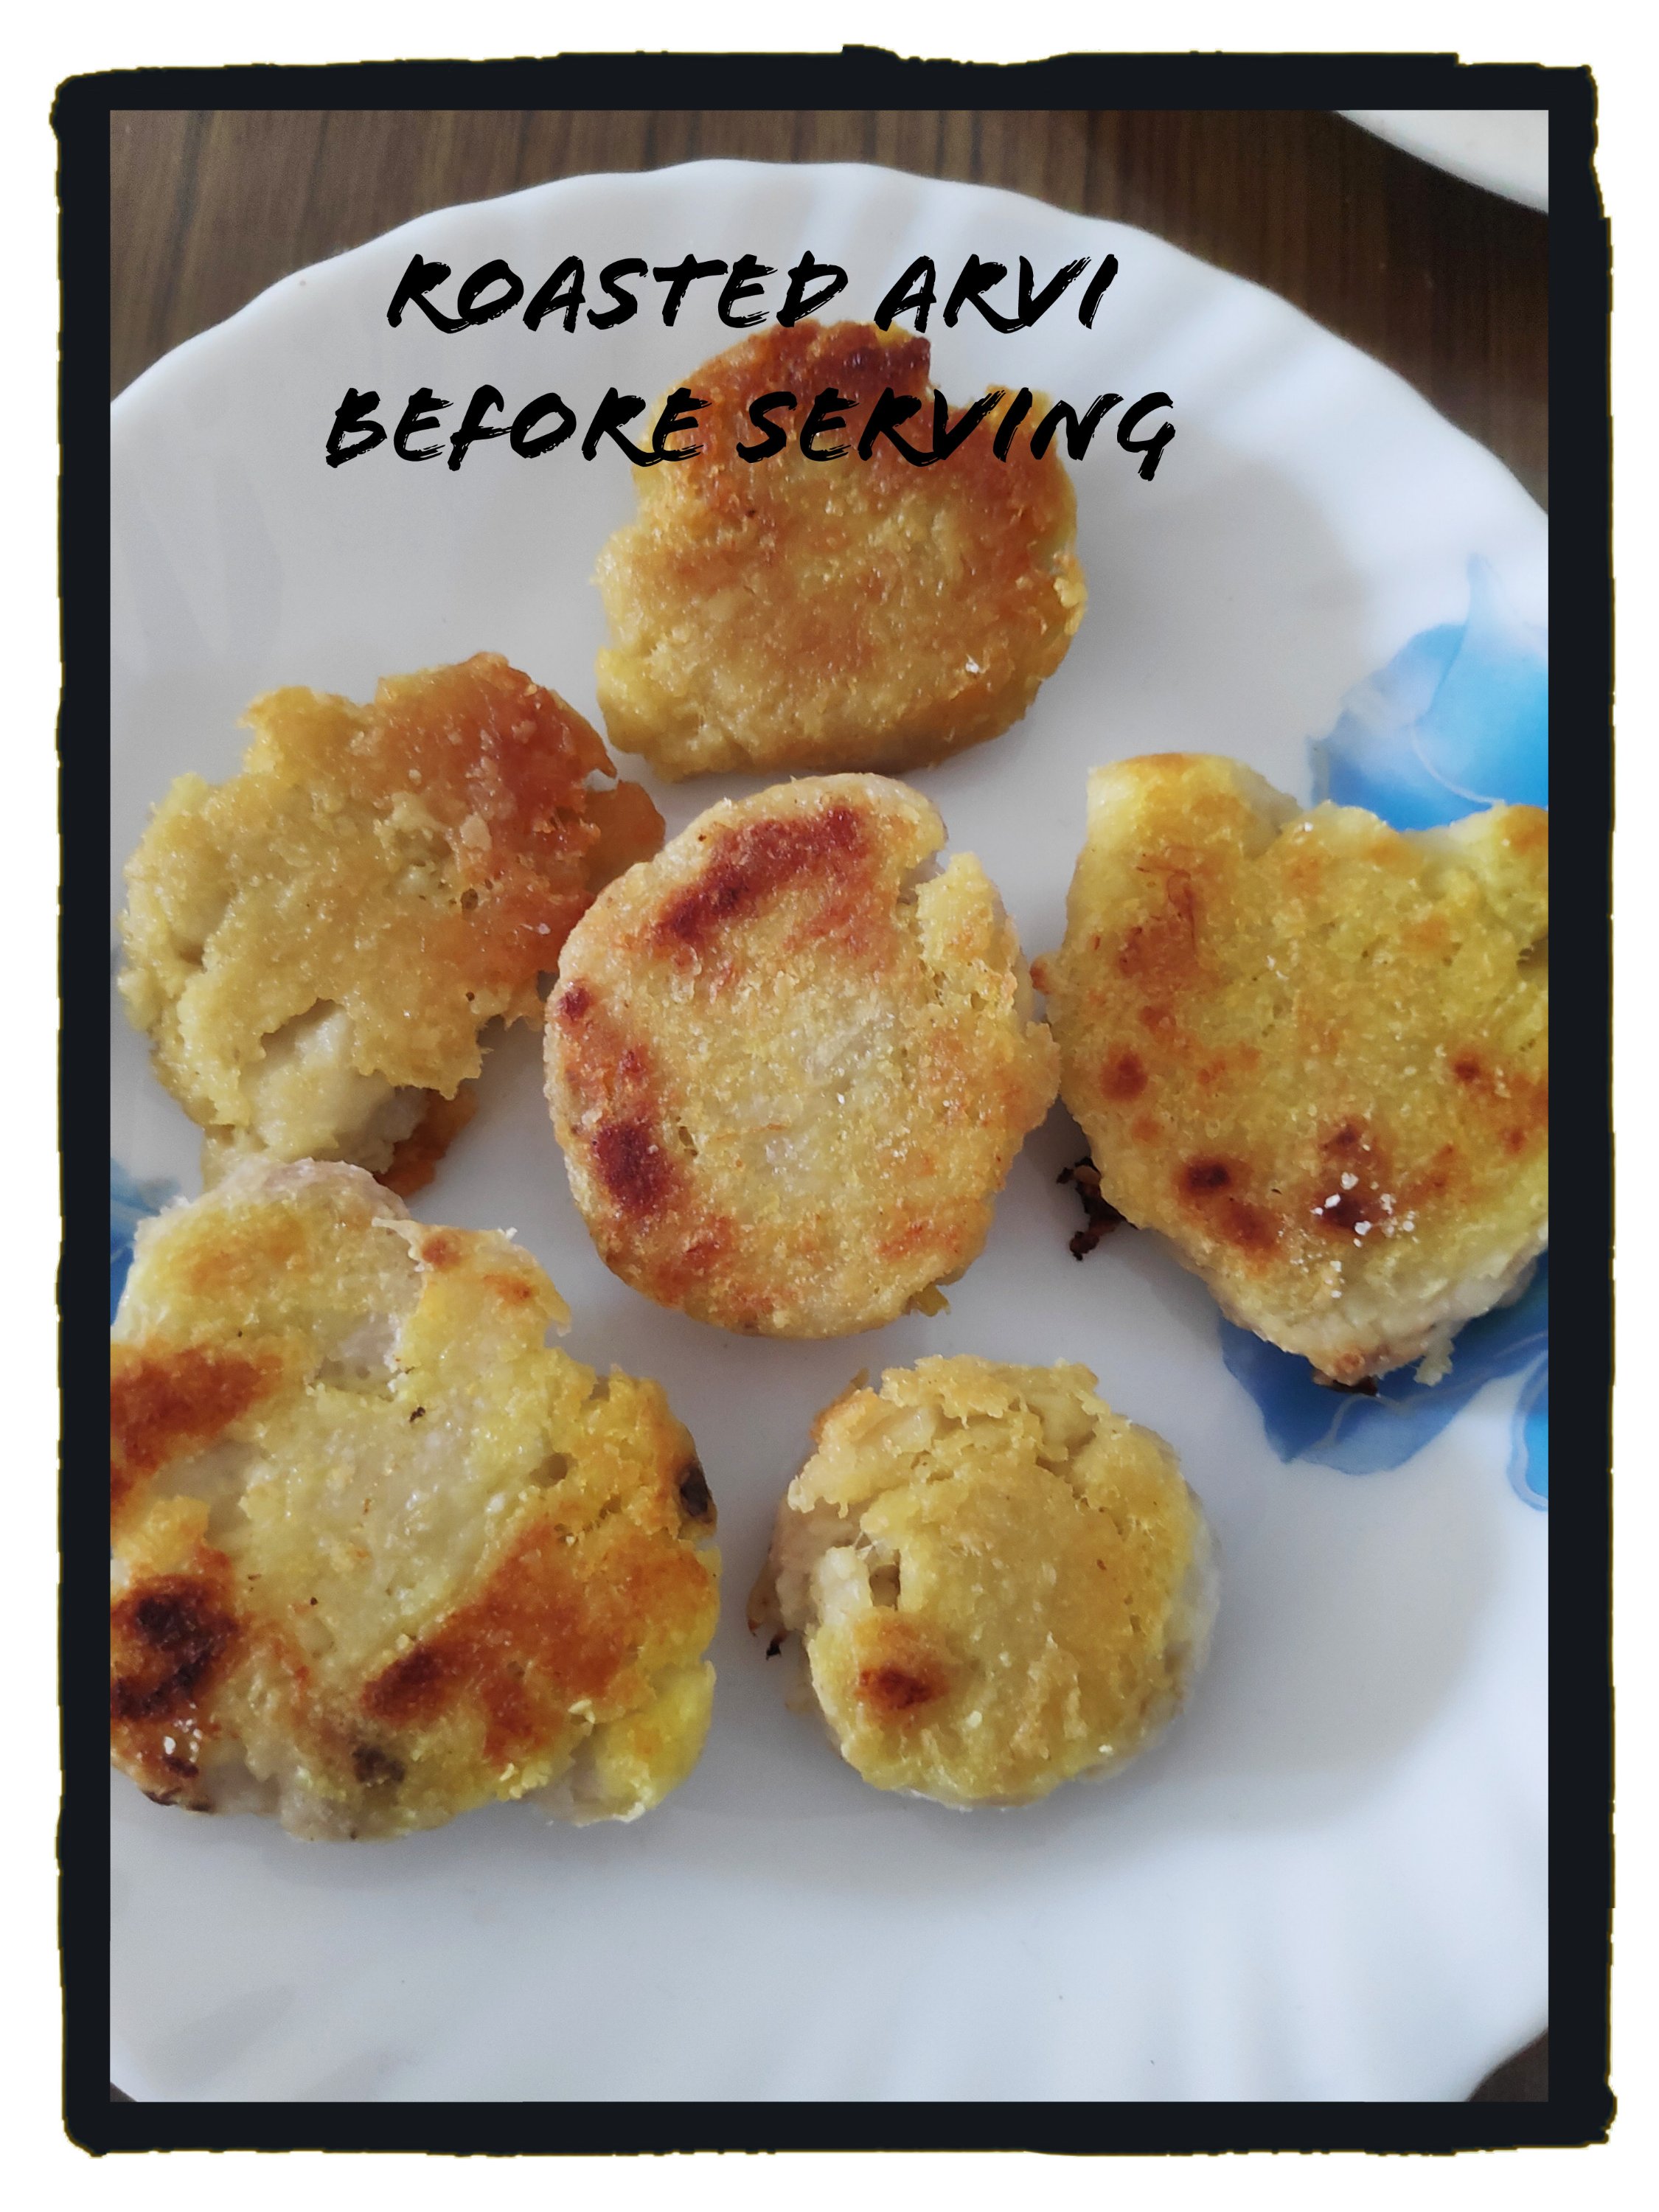
So, like the original recipe, let’s not deep fry, we will par boil the arvi, smash it flat and then we will roast these in some ghee on a thick bottomed pan.
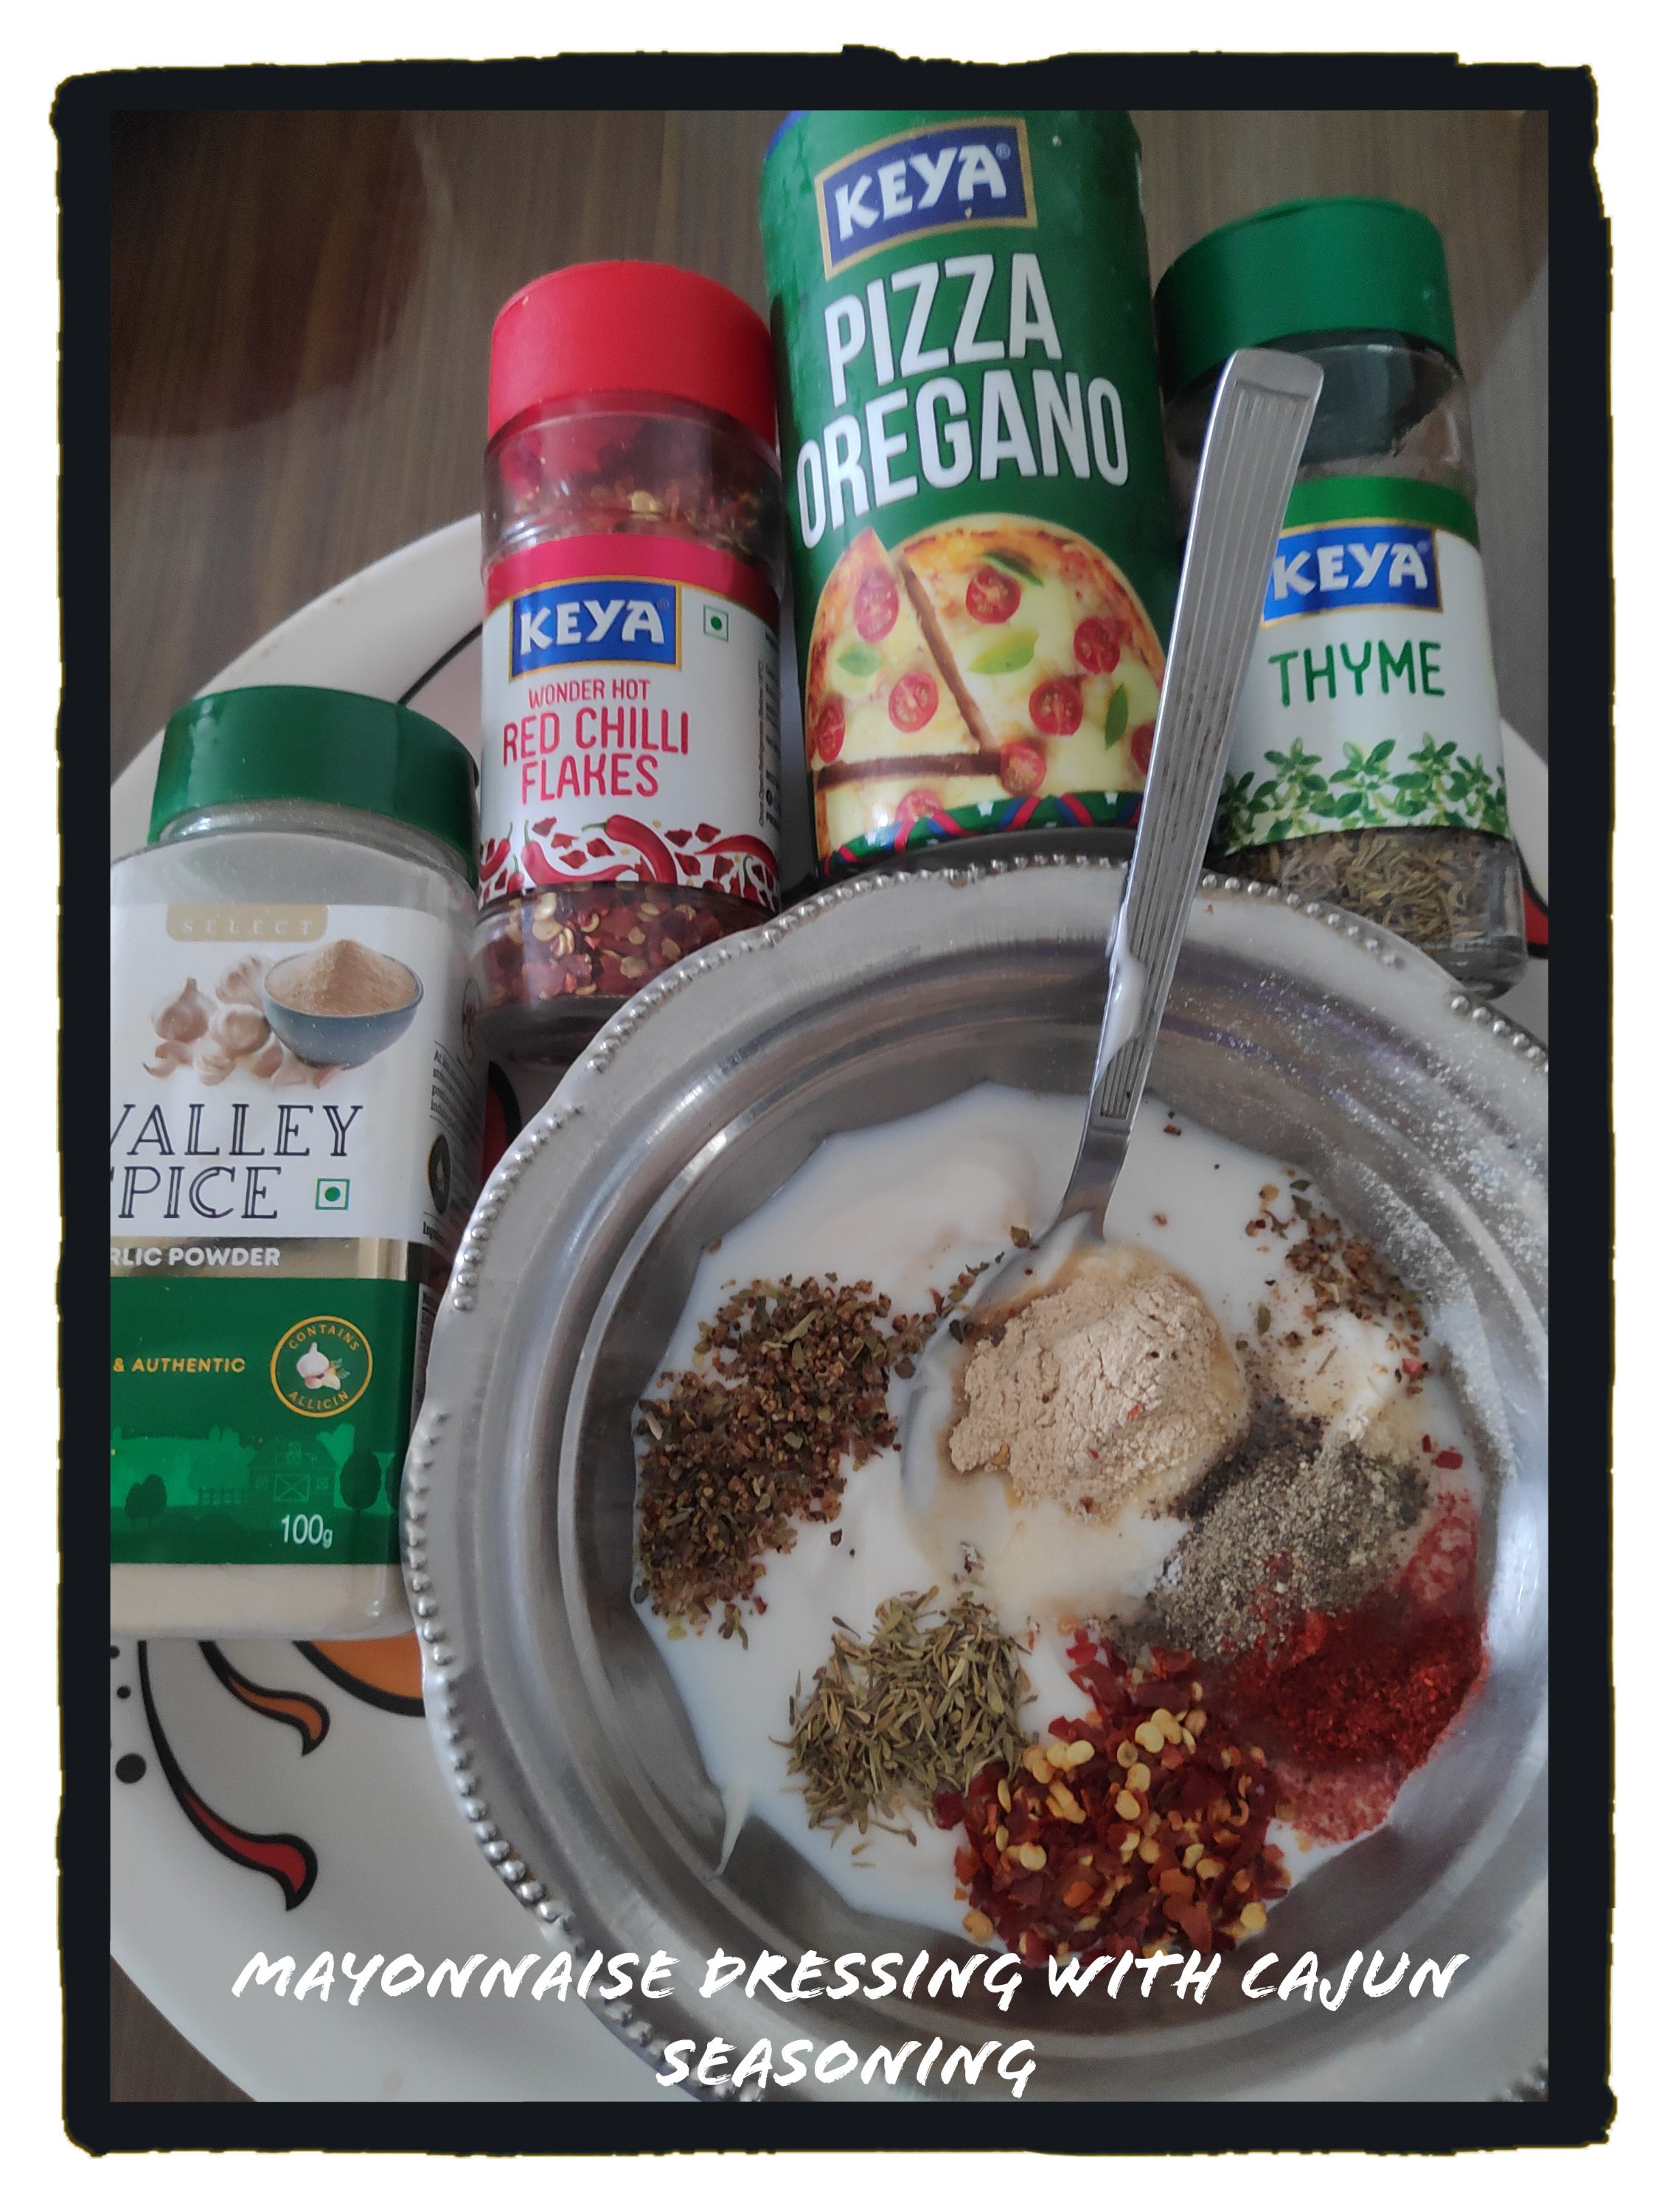
Now make a quick sauce by adding mayonnaise, ketchup and cajun seasoning.
Cajun seasoning can be made at home, just mix paprika, salt, garlic powder, thyme, oregano, chili flakes and black pepper powder (onion powder is also added but I didn’t add)
I got this amazing recipe of the sauce and cajun seasoning from Bhavana’s blog by the name Indian veggie delight
Corn flour: 1tbsp (for coating arbi before roasting)
Salt: to sprinkle over the boiled arbi
Spring onion/ onion: 1 tbsp Finely chopped (optional: for garnishing)
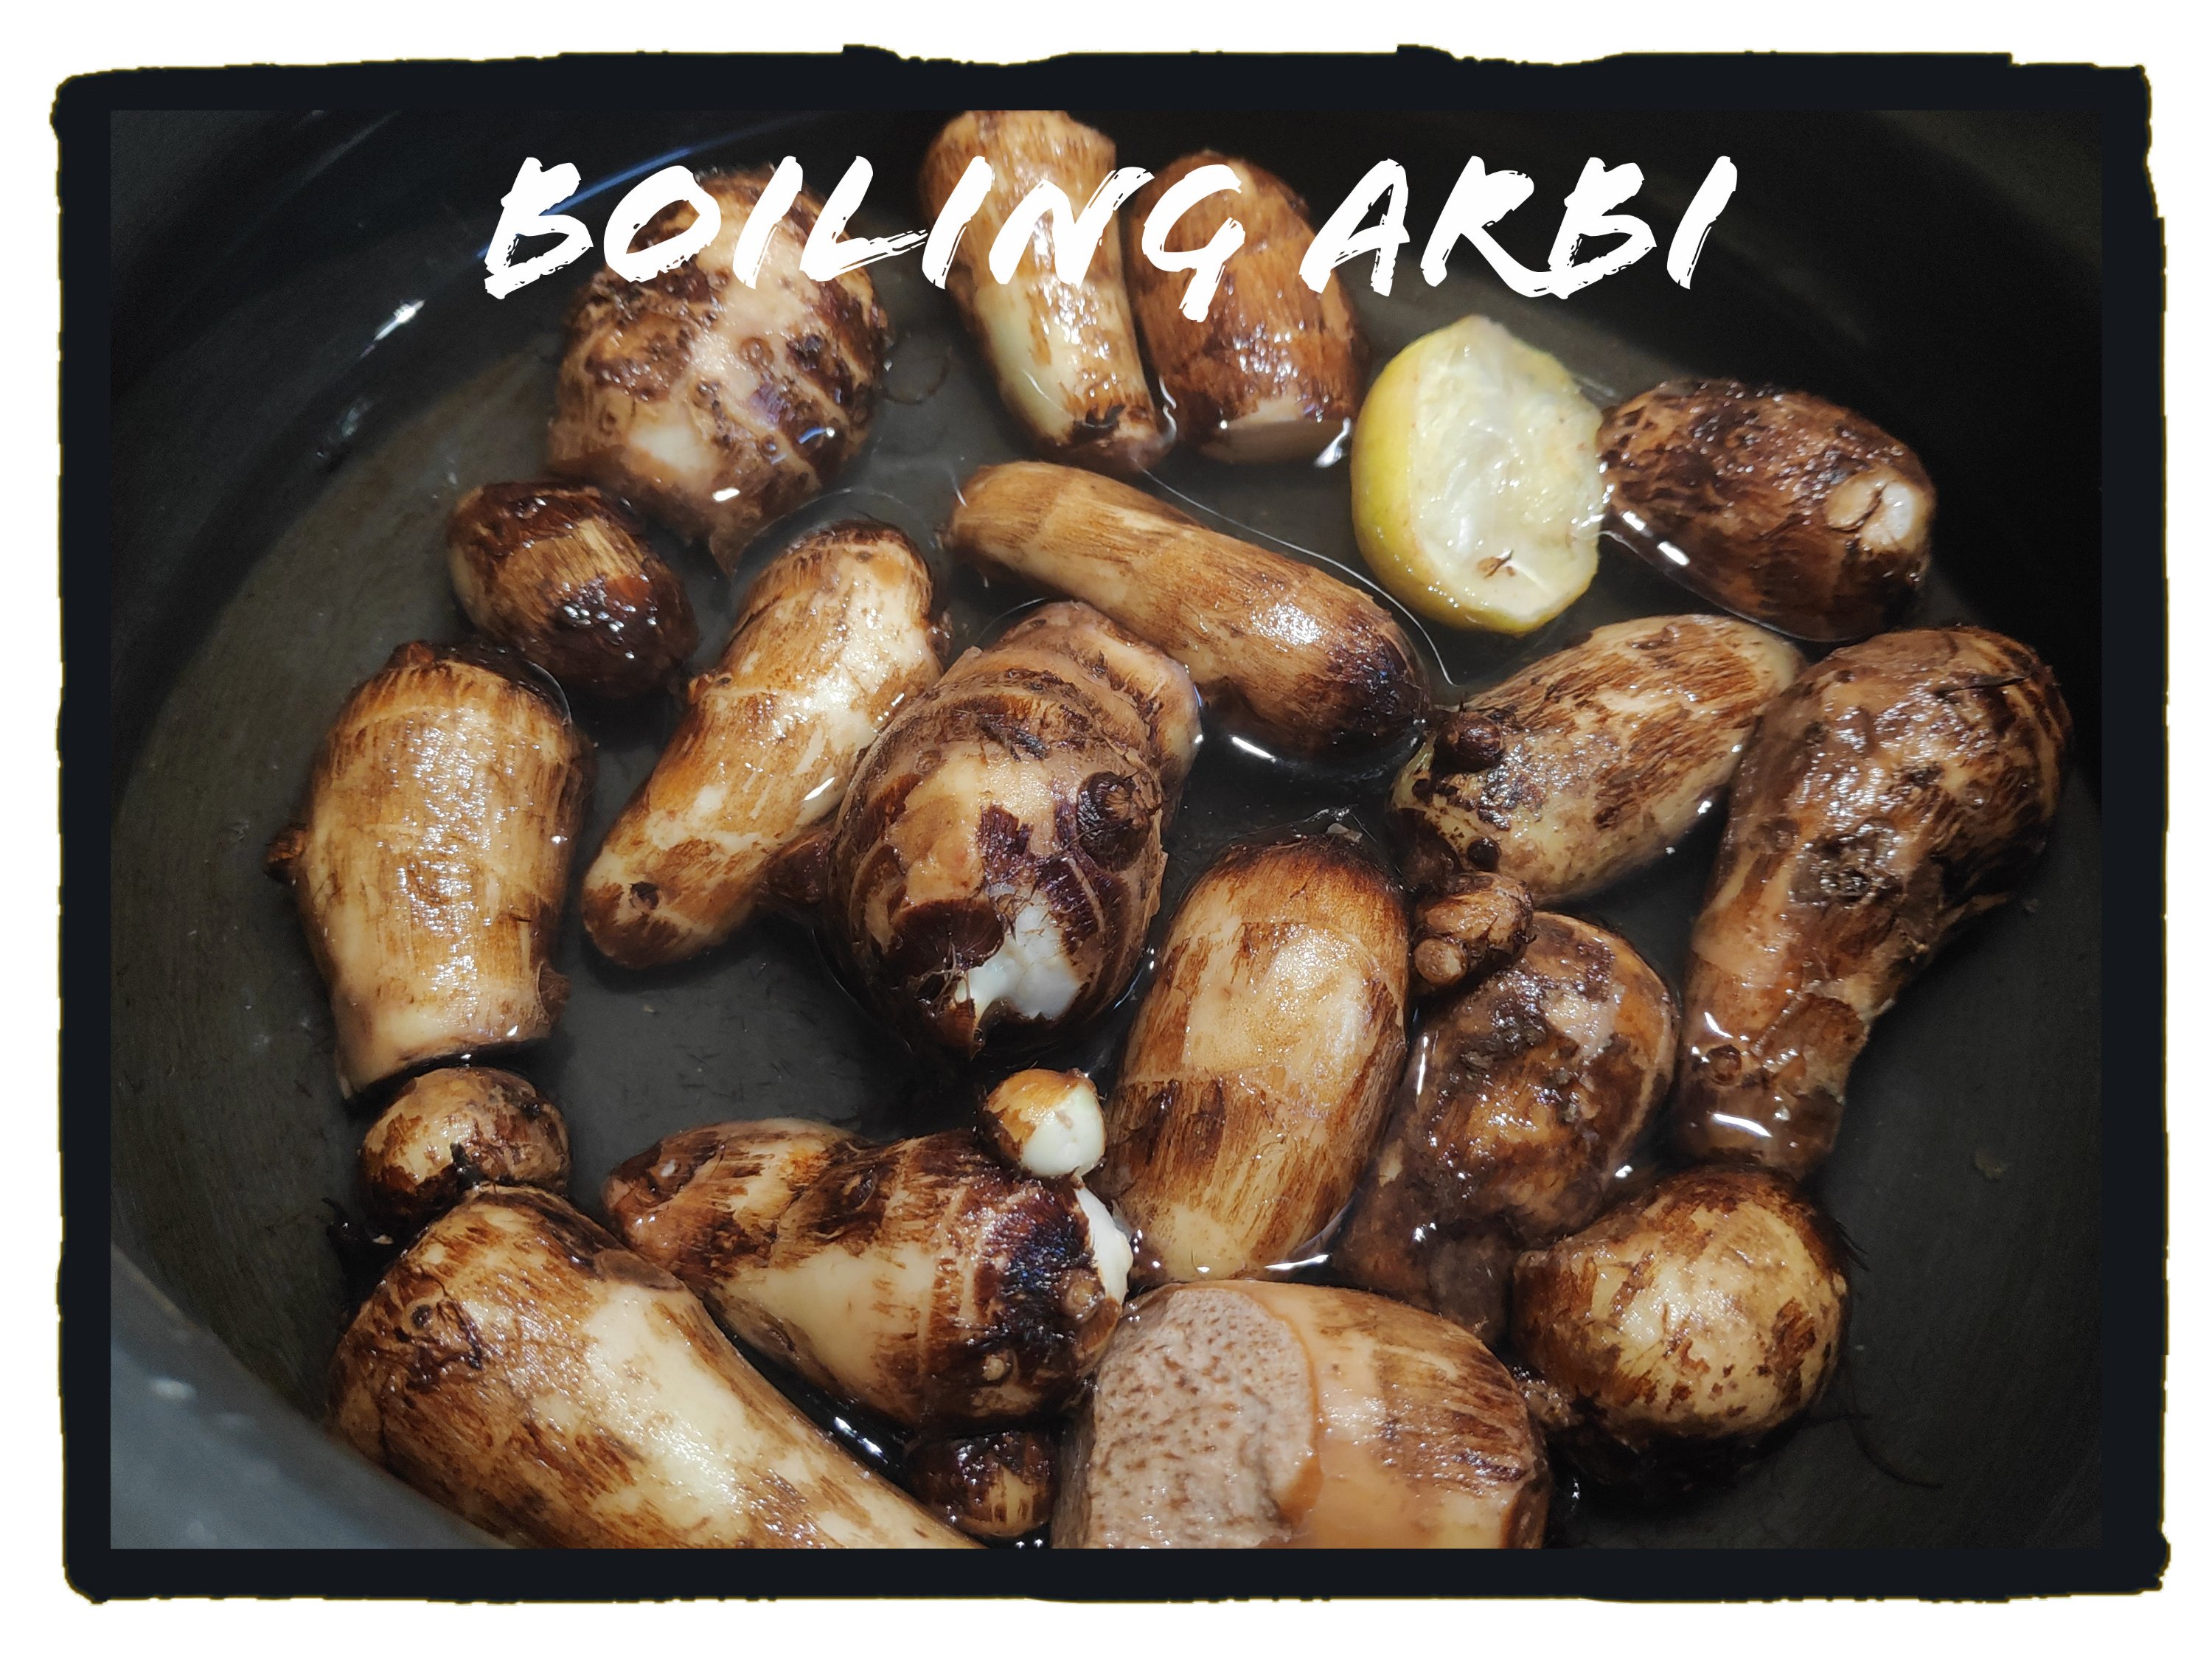
I always boil arbi, potatoes or yams with a slice of lemon
Directions:
Par boil the arbi in a glass of water, make sure it is not fully boiled and soft.
Use the whole arbi if small, or cut into two pieces if long or big.
Peel and gently flatten with the bottom of a bowl. Be careful, it slips a lots because peeled arbi tends to be very slimy. If required, dip the boiled and peeled arvi in dry corn flour and then press and flatten it. Sprinkle some salt.
Coat the smashed arbi in corn flour and roast in 1 tbsp of ghee until golden brown from one side. Flip and roast the other side.
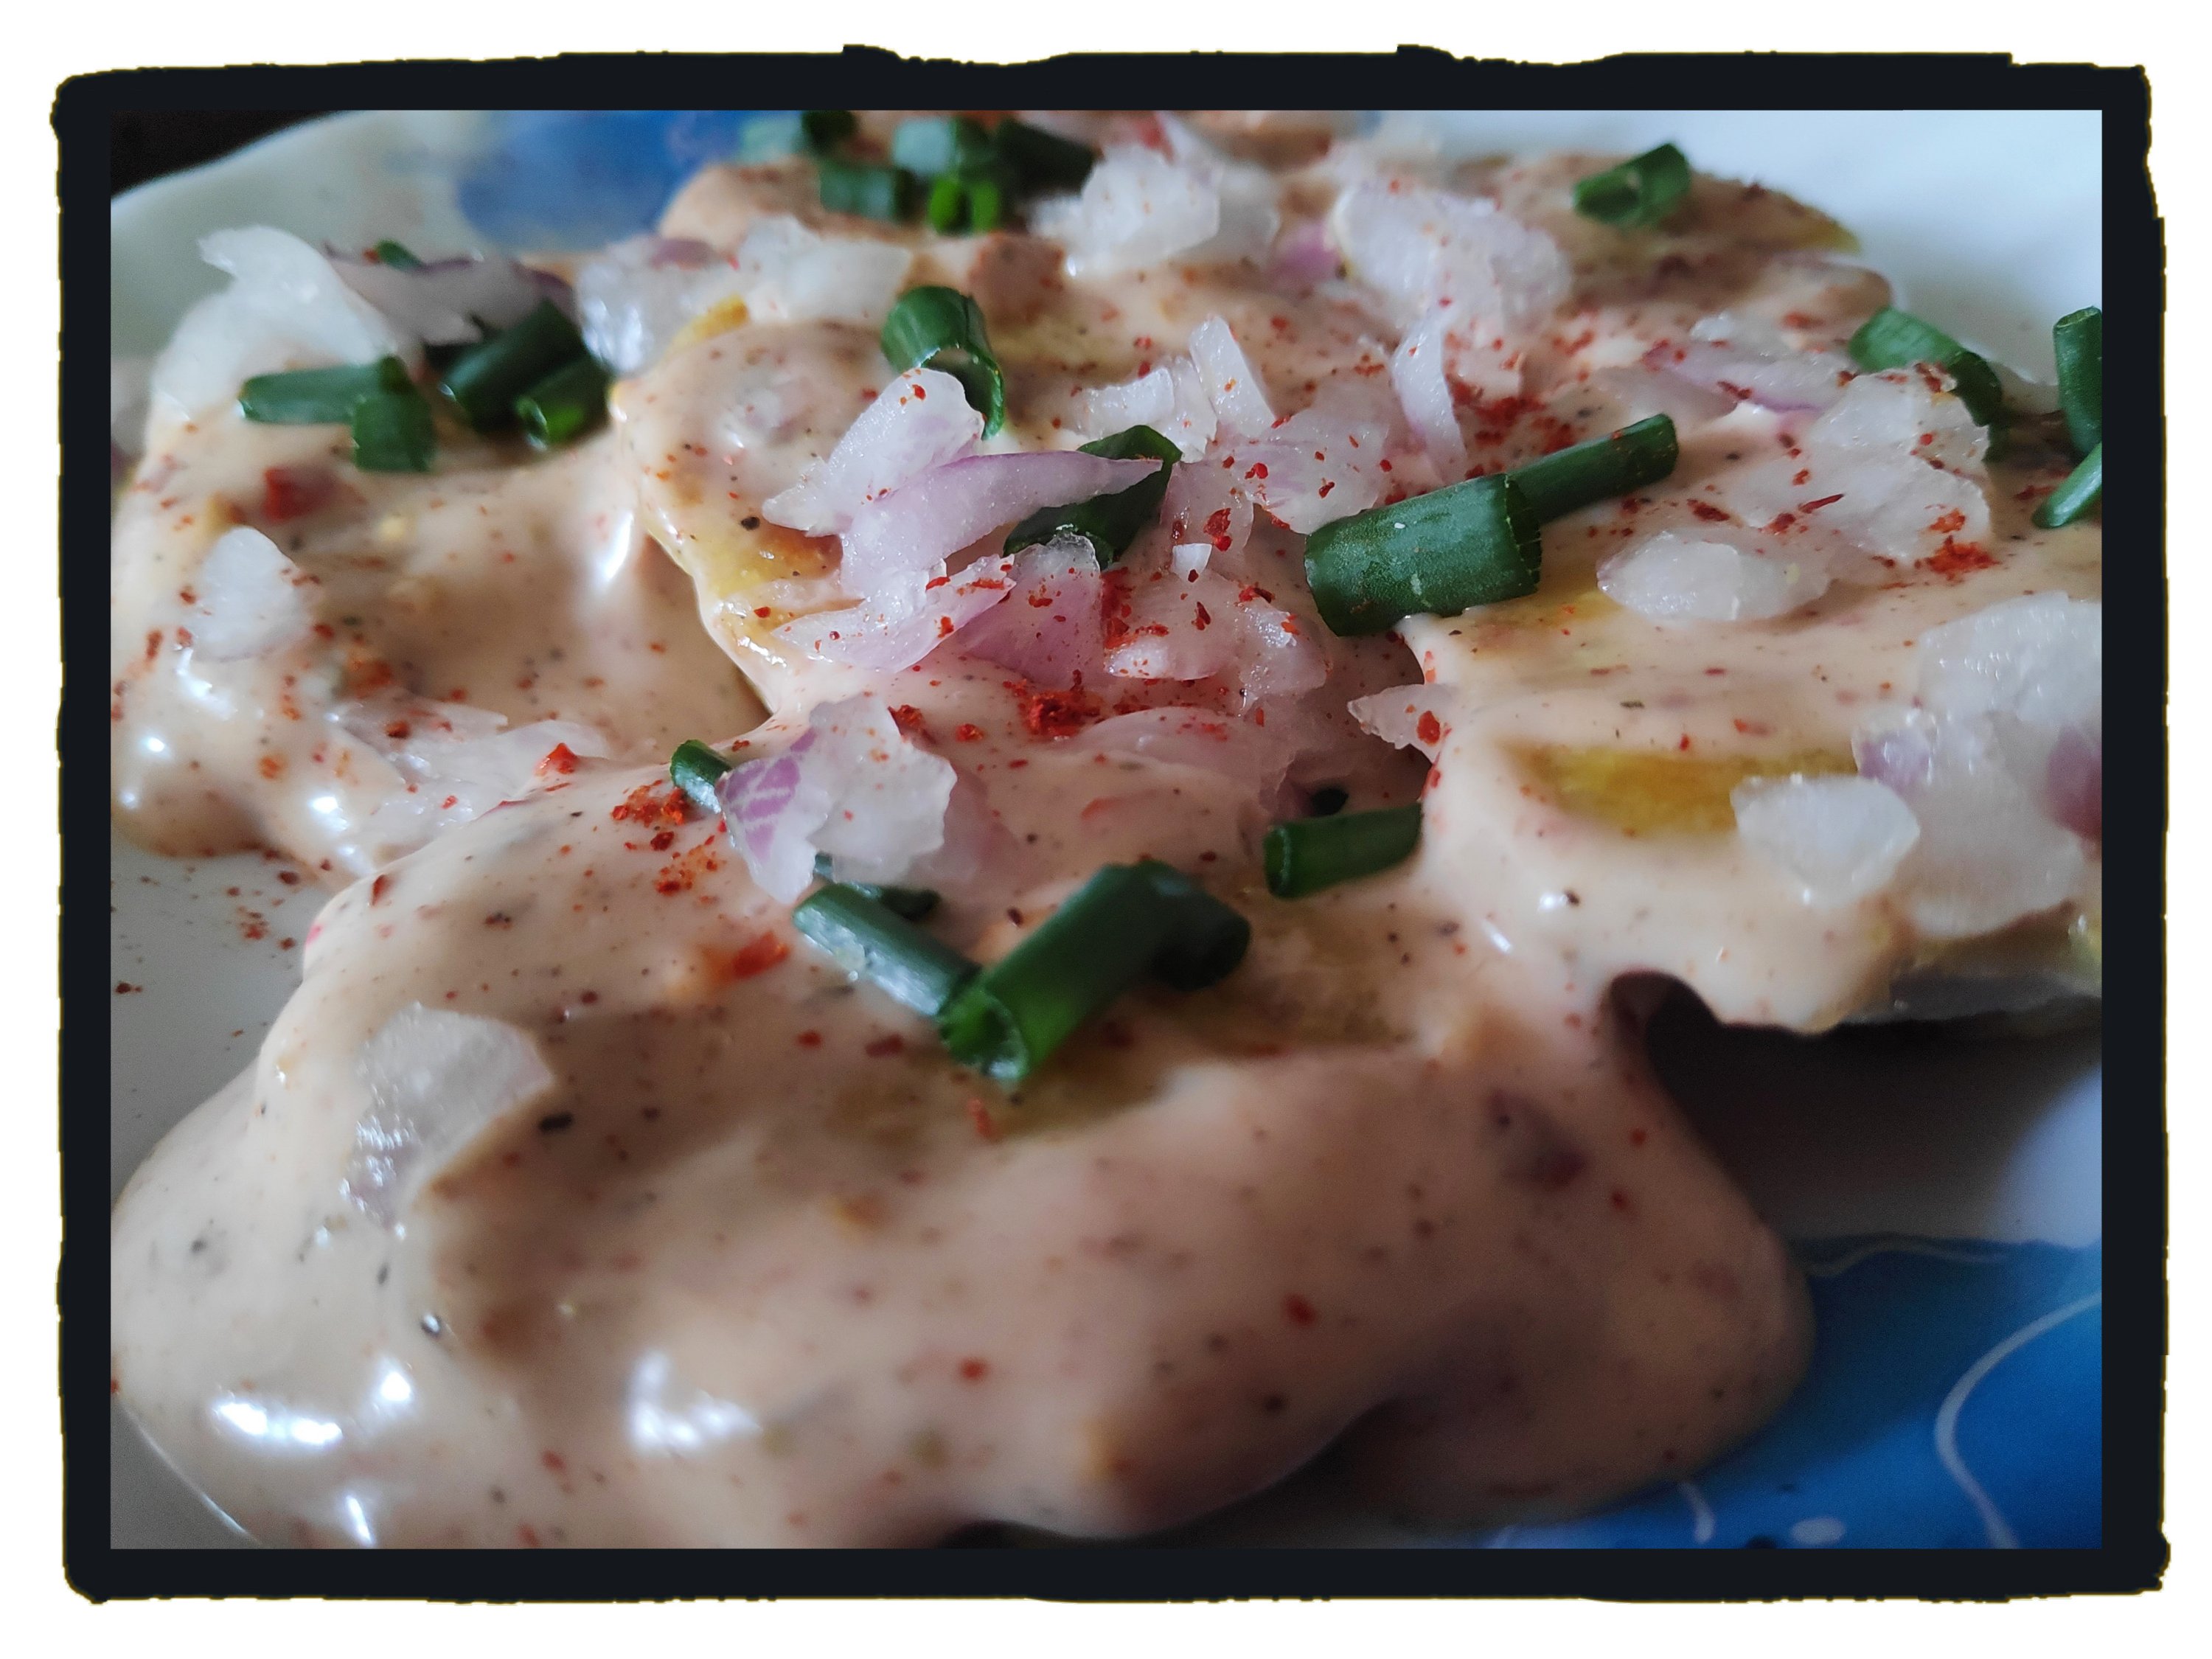
Take a bowl and add 4tbsp mayonnaise, 1 tbsp milk, 2 tsp ketchup, 1tbsp cajun seasoning. Mix properly, taste and adjust the seasoning accordingly.
Place the roasted arbi in a plate and put a dollop full of the mayo dressing over the arbi. Add some chopped onions and spring onion greens.
Savour while still hot, put the sauce over the arbi just before serving or it might become soggy.
Enjoy !!
If you try this recipe and like it, kindly tag me on instagram as @shine2308 and on Facebook as @shaheenreviews
Suggested serving: These would be awesome as party appetizers or starters.
Originally Published on ShaadiWish It’s again that time of the year when you are on a hunt for Diwali gift ideas to pamper your loved ones with. And, while exchanging mithai boxes is too cliche for the millennials, we at ShaadiWish can help you ace up your gift game with some OTB and mind-blowing ideas. After all, not […]
This is our tagline hamper- A Green Diwali Hamper. A bamboo basket with a terracotta hut and 8 diyas, a jar full of homemade chocolates, a jar of refreshing lemongrass & a beautiful planter with seed balls.
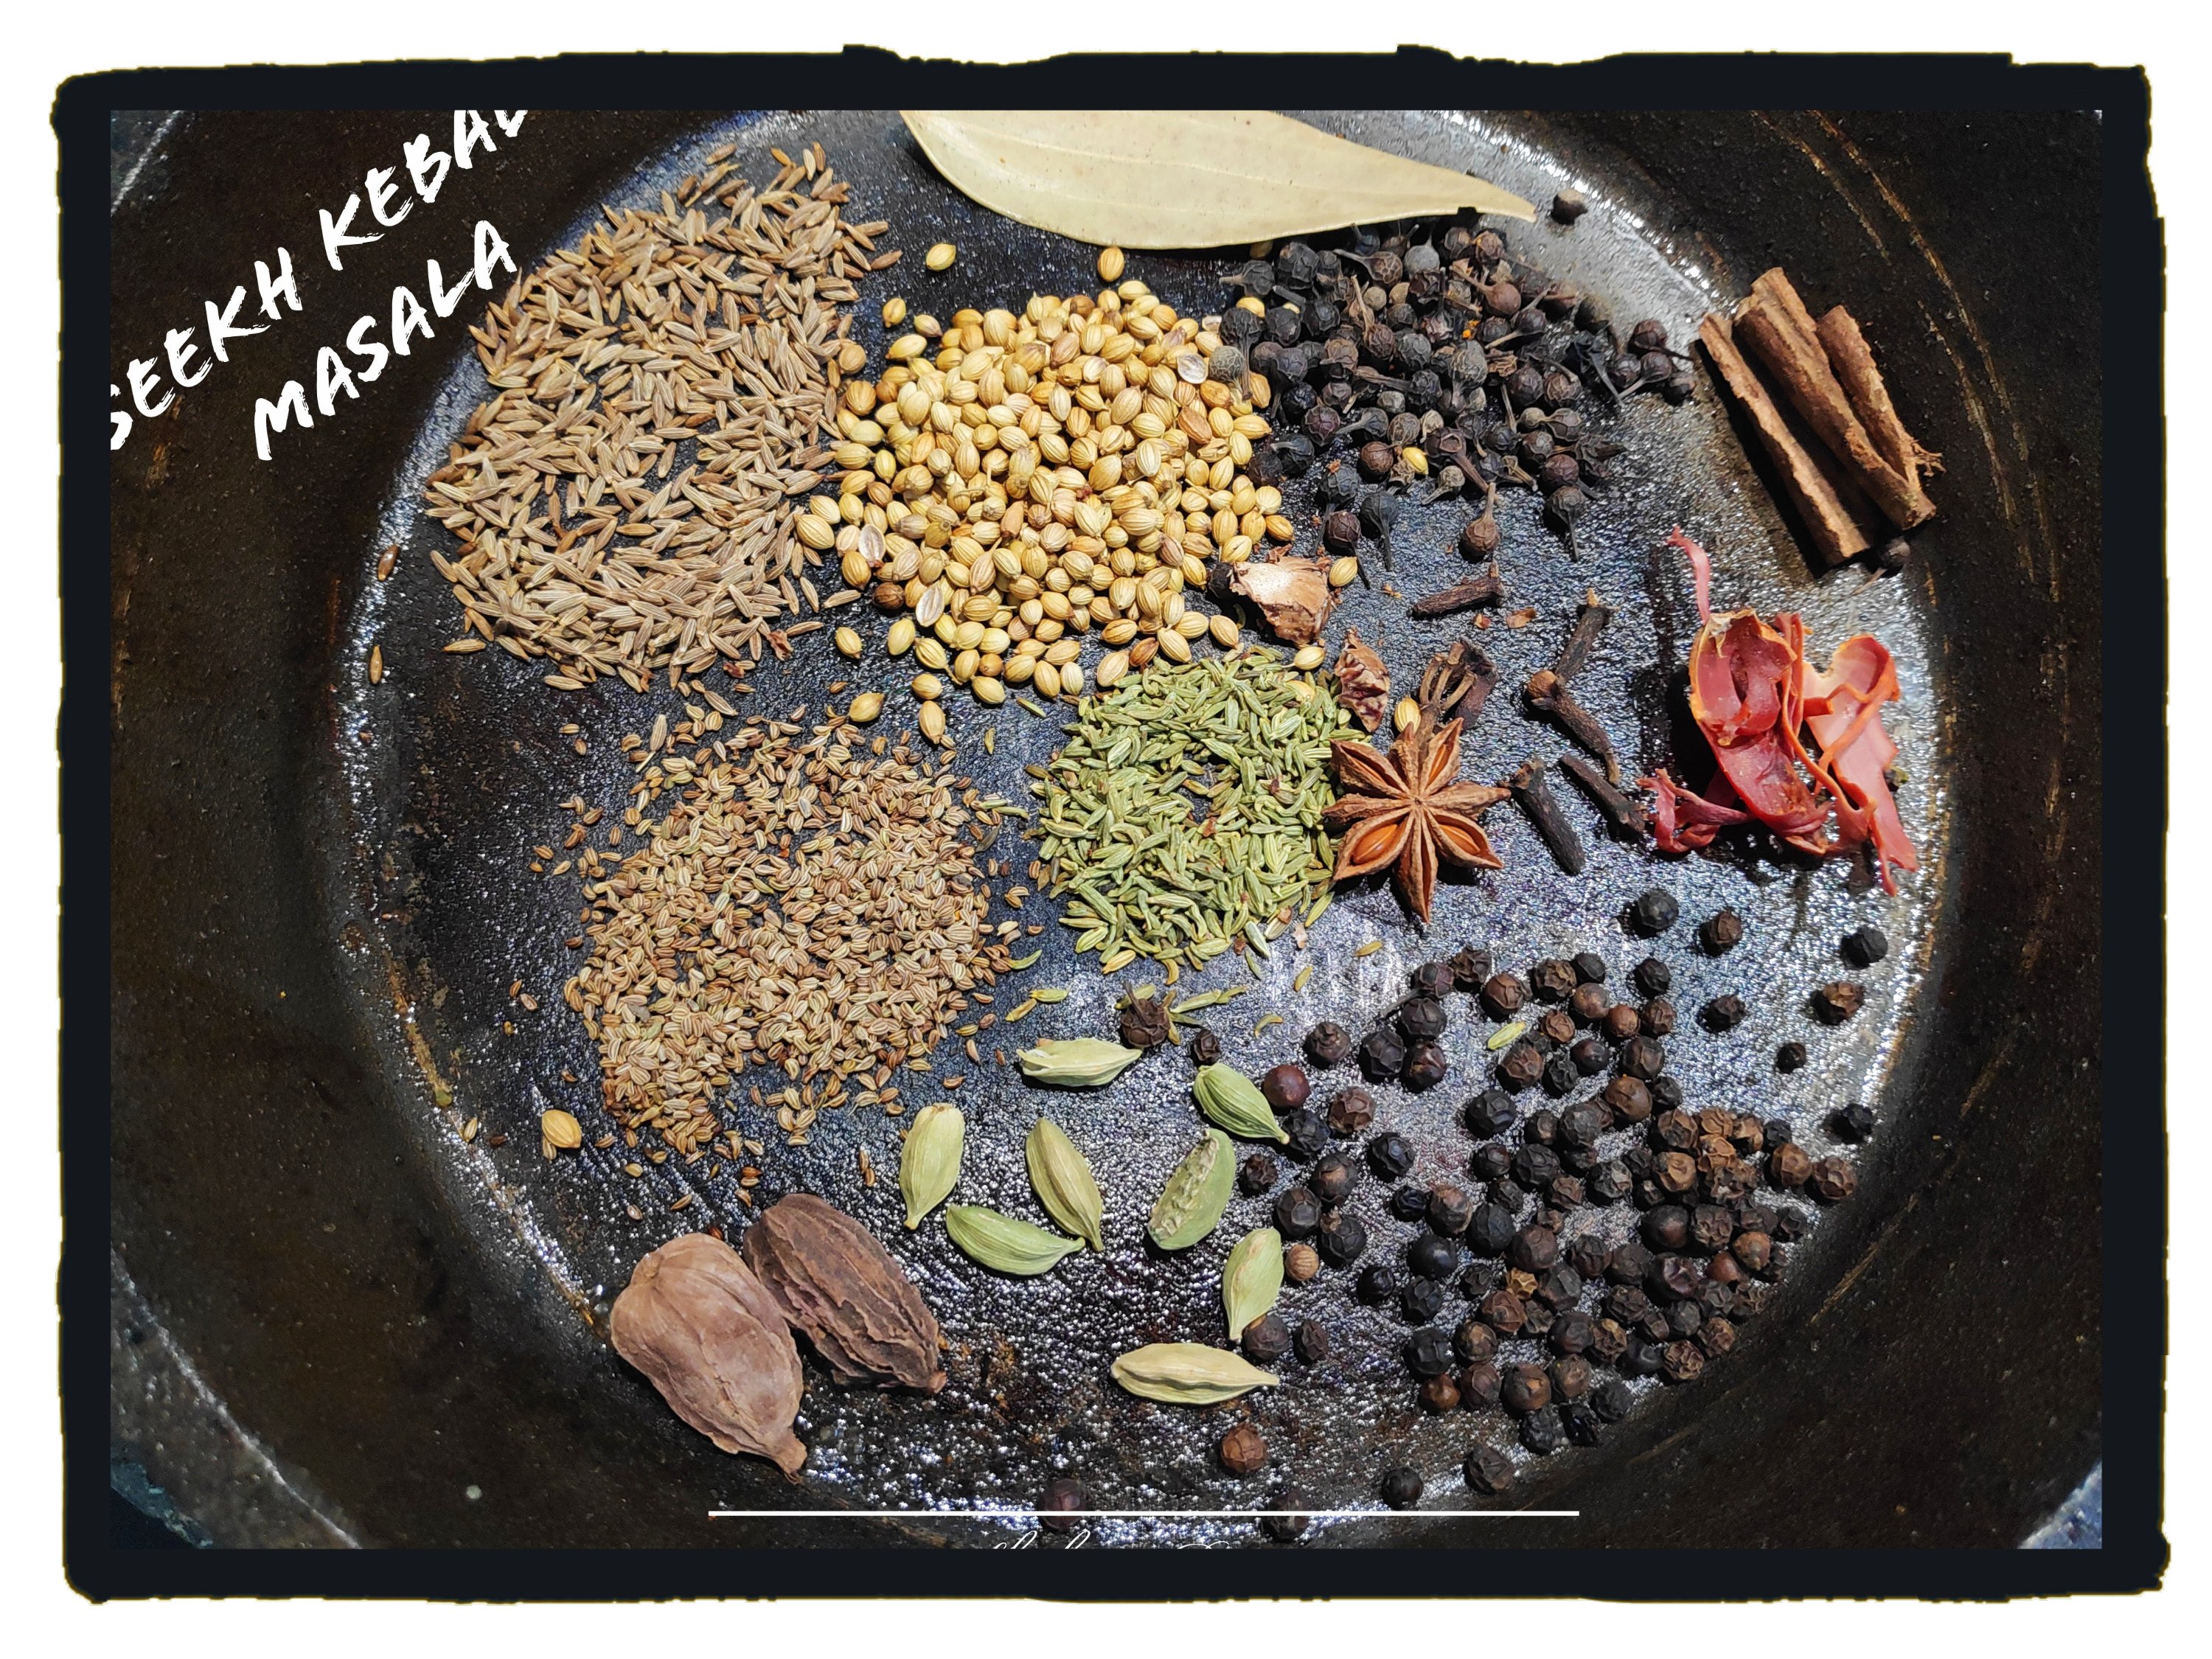
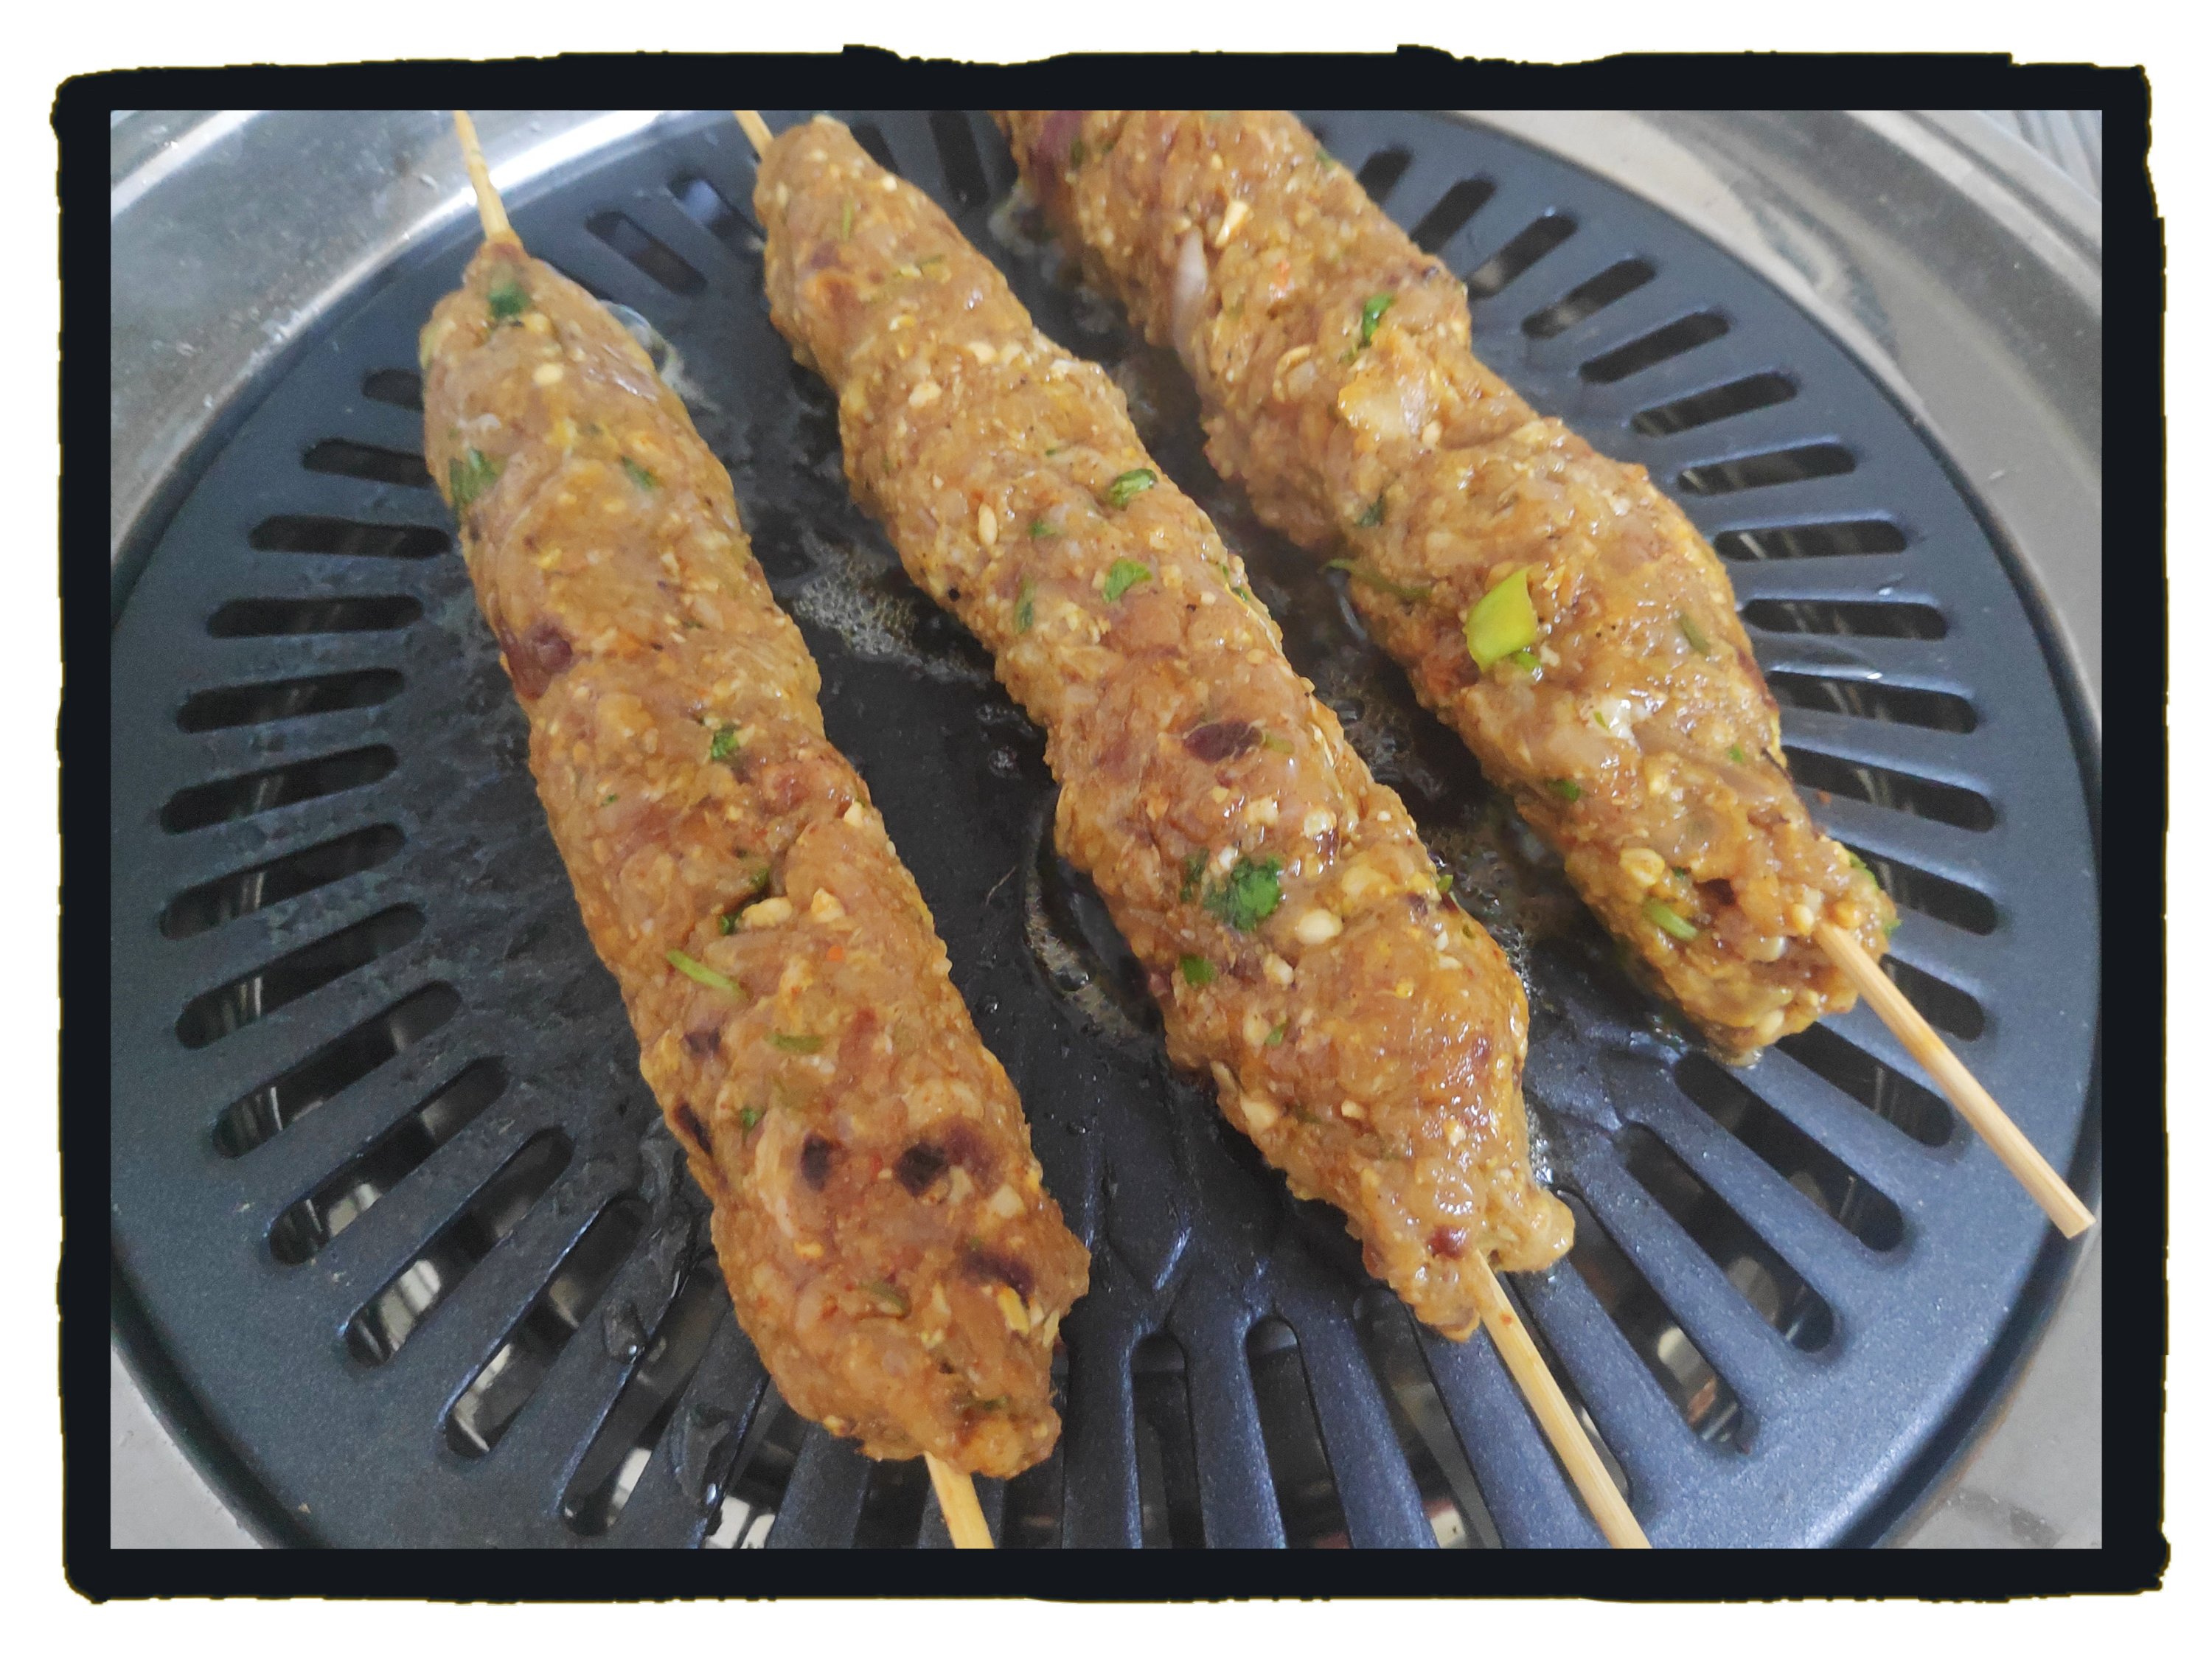
This is a simple masala powder recipe for making delicious Seekh kebab at home.
Just add this Seekh Kebab spice powder, some ginger garlic paste, salt, chili powder, fried onion and papaya paste to mutton mince and make delicious kebab out of it.
This recipe will suffice for at least 2.5 kg of mutton which means if you are making Seekh kebabs of just half kg mutton ( like I do 😀😀) then, this fragrant spice powder will serve you at least 4-5 times.
Store this masala powder in an air tight jar in the refrigerator.
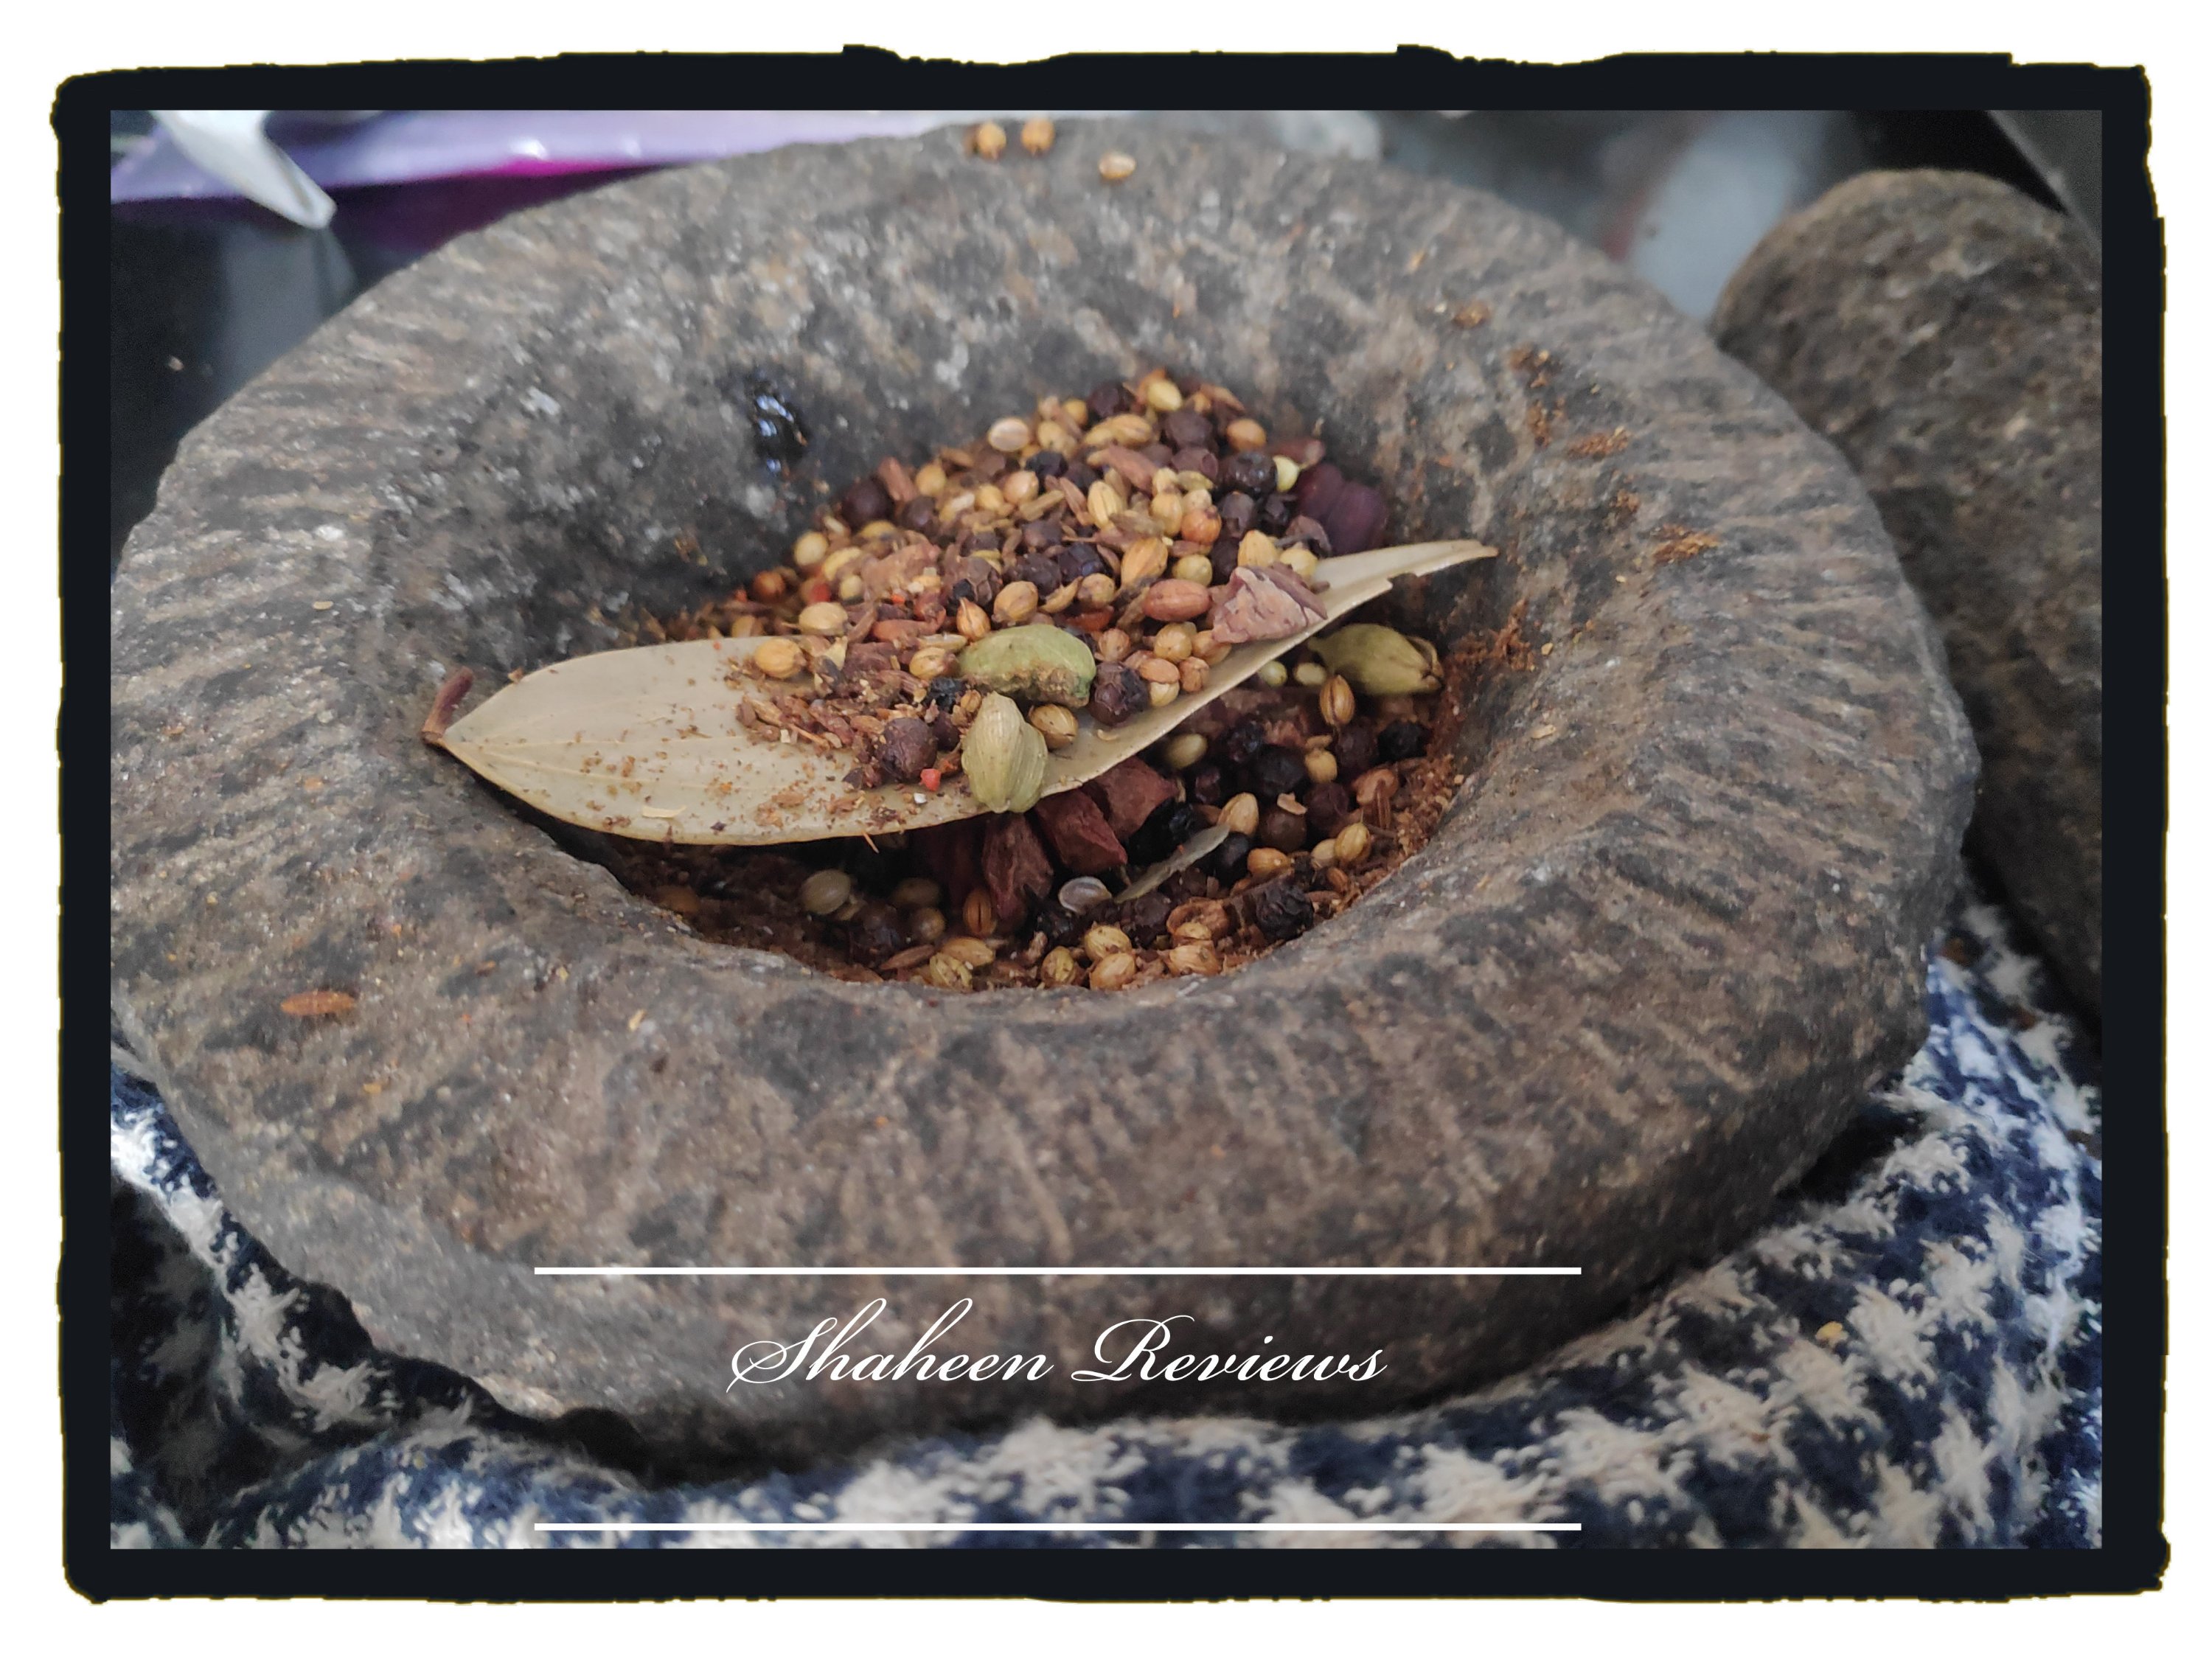
I recommend roasting the spices slightly and then pounding these in a mortar and pestle ( these can be ground in the mixie as well but it’s a different beautiful thing in pounding the spices and getting a slightly coarse texture)
Roast all the whole spices on a thick tawa on low flame until the spices are fragrant, around 4-5 minutes. Take care not to burn the spices.
Pound these roasted spices in a mortar and pestle or grind in a mixie.
Add all the powders (salts, chili, amchoor etc) to the pounded spices and mix well.
Use atleast a tbsp (slightly more if you like garam masala) in half kg Mutton mince for seekh kebab.
Add 1 tbsp ginger garlic paste, 1 tsp haldi, salt to taste, red chili powder to taste, 2 tsp dhania powder, 1-2 tsp papaya paste, chopped green chillies, 2 tbsp fried brown crushed onion and 1tbsp of Seekh kebab masala powder to half kg mince mutton. Mix well and let it rest for an hour or two.
Add one grated onion (excess onion juice removed) and a tbsp of roasted besan/gram flour.
Make the seekhs on skewers ( soak the skewers in water if using wooden skewers) or make small cylindrical rolls and fry on a thick tawa. Keep basting with oil until the kebabs are cooked thoroughly.
A detailed step by step tutorial of making Seekh Kebab will be posted soon with tips and tricks 🙂
Do you make kebabs? What other spices are added and what other variations are made ? Do let me know in the comments section.
If you happen to try this recipe, please do not forget to tag me on facebook as @shaheenReviews and on Instagram @shine2308
You are at home, chilling and enjoying your day and some of your close relatives or friends drop by unannounced, you fix a meal in a jiffy and want to serve some dessert too.
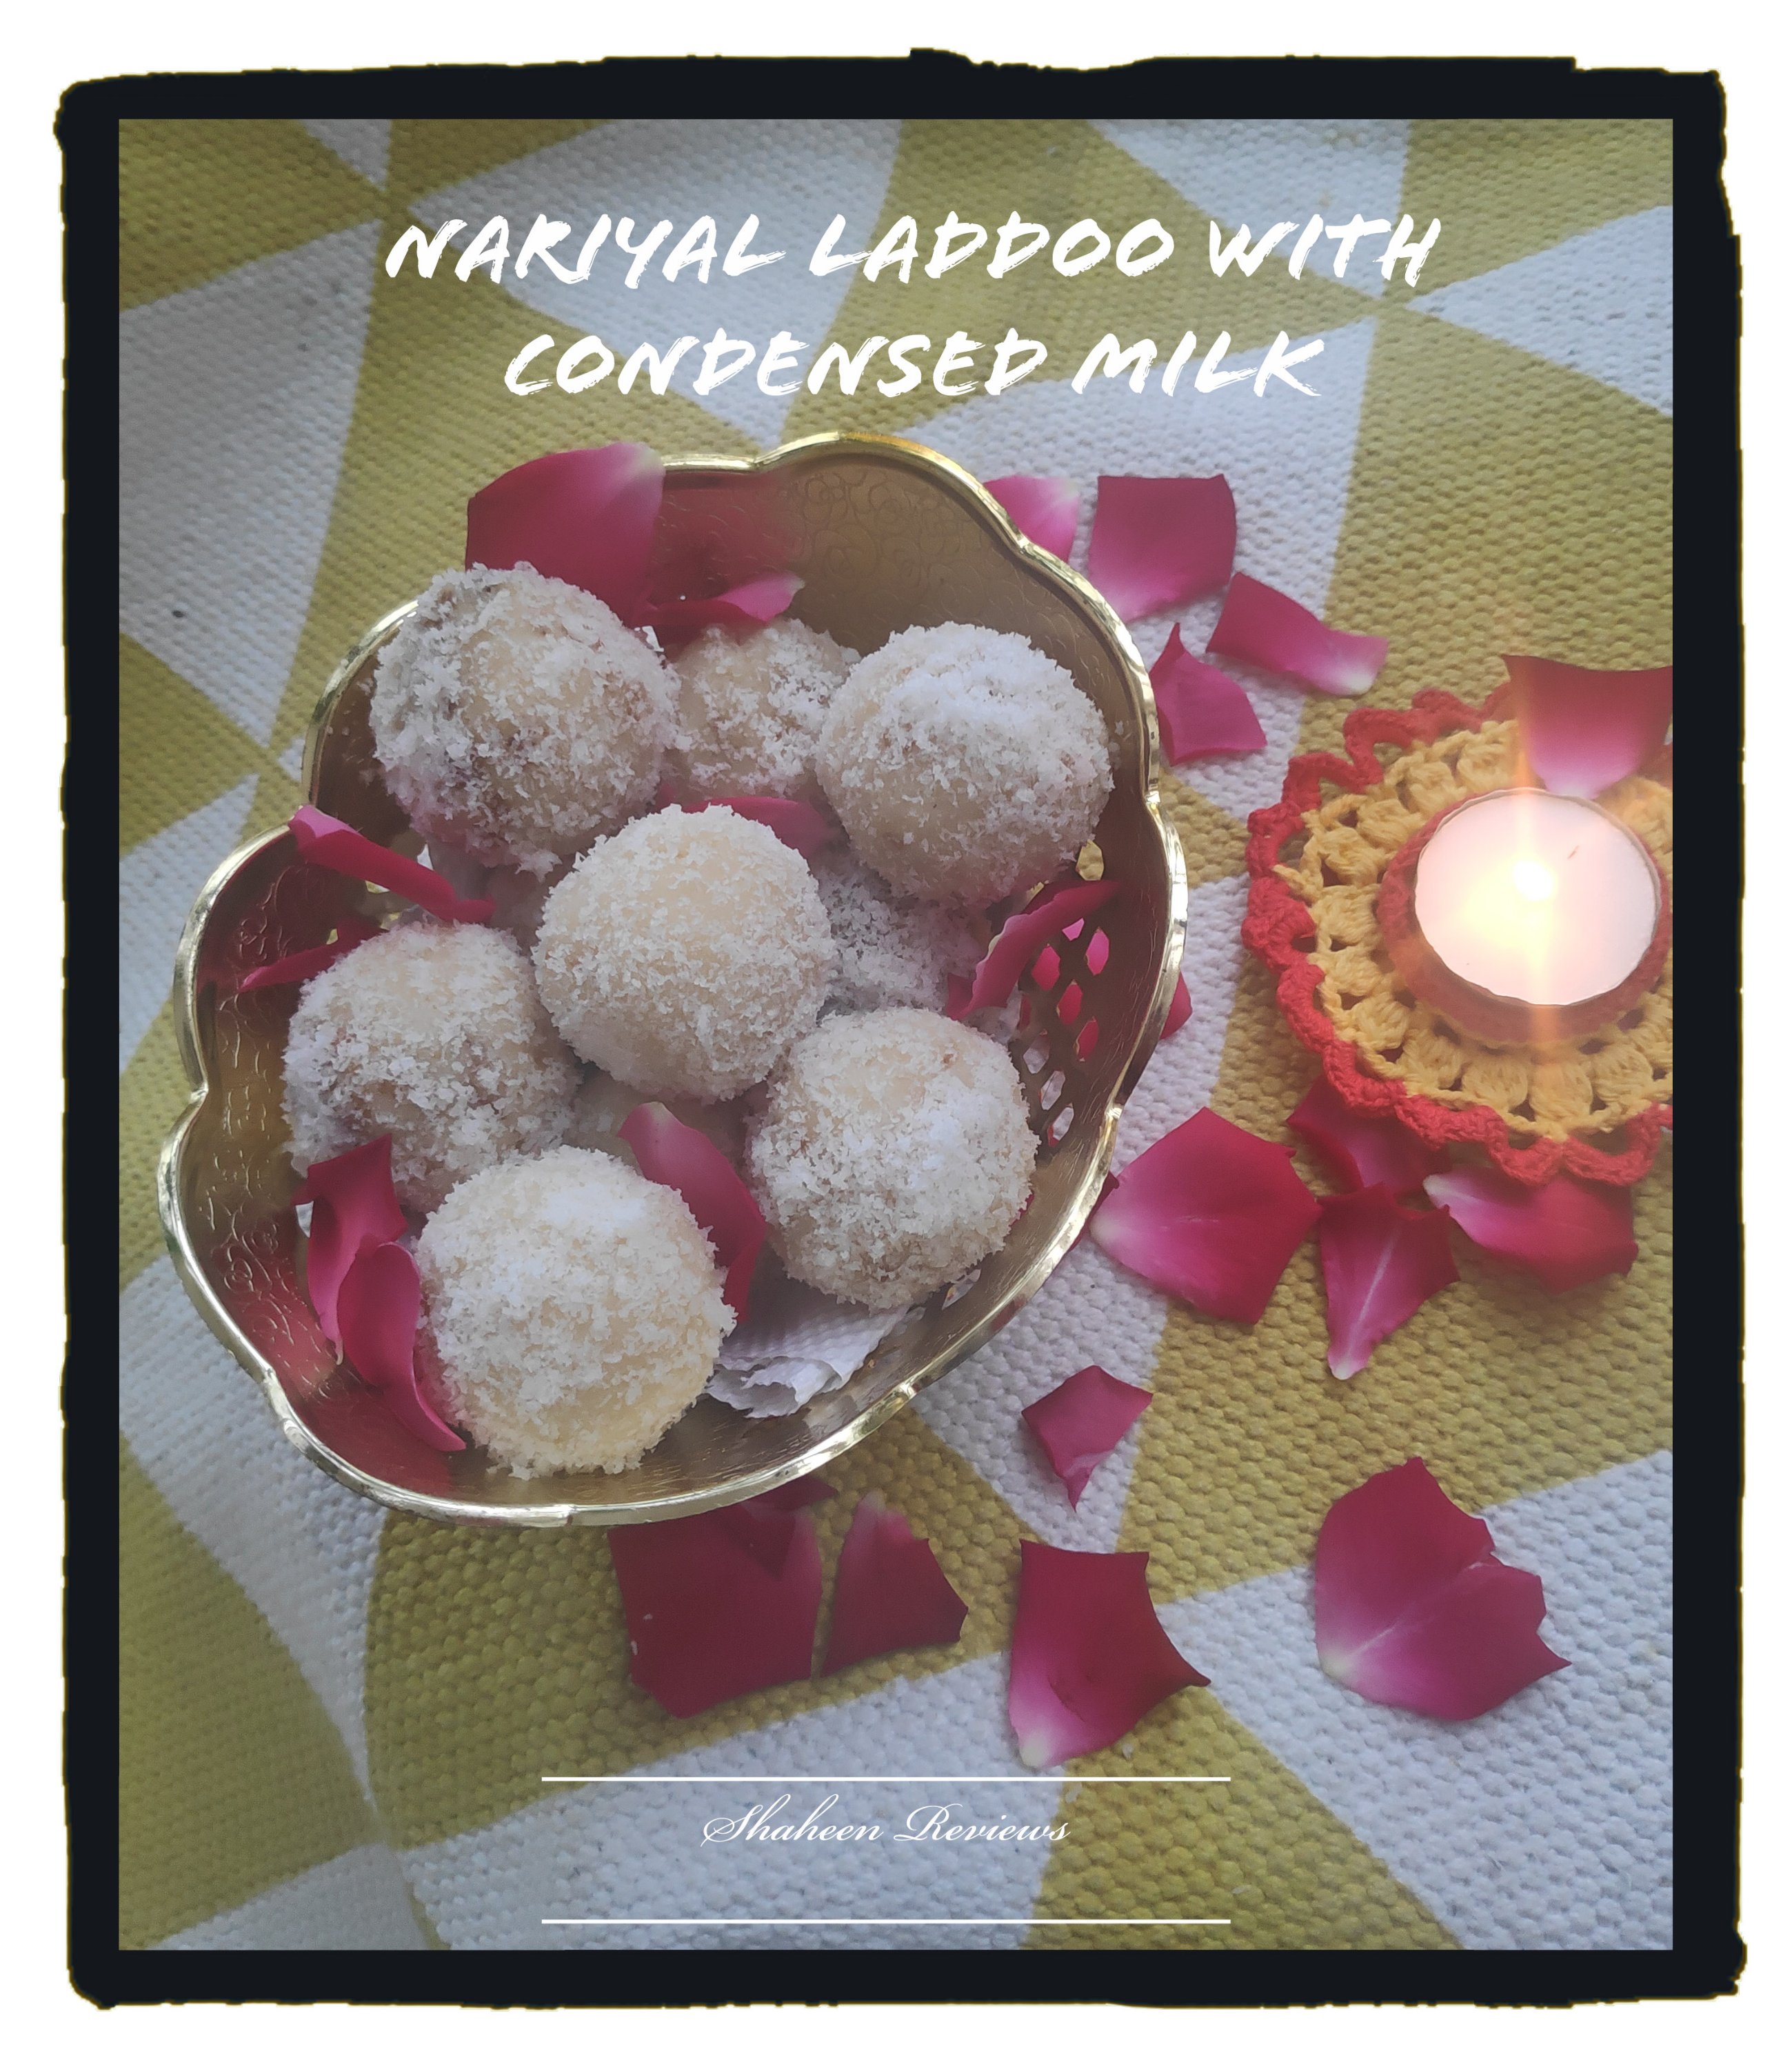
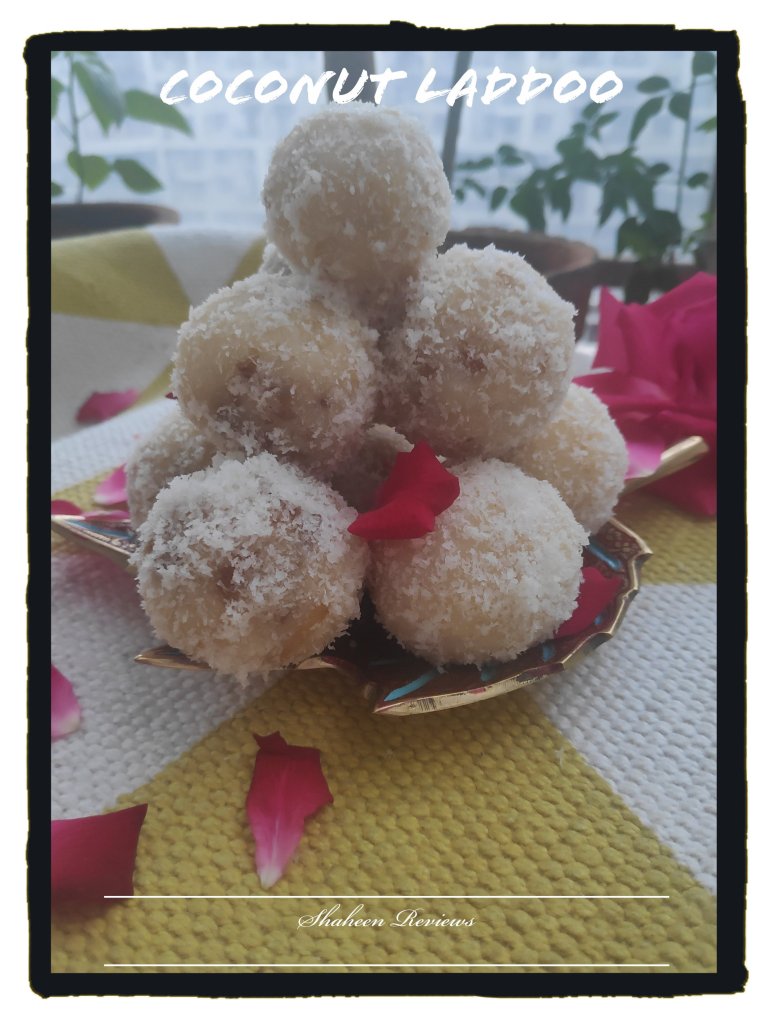
What do you make when you are short on time but want to serve something delicious for dessert? Make these 5 minute delicious coconut laddoos.
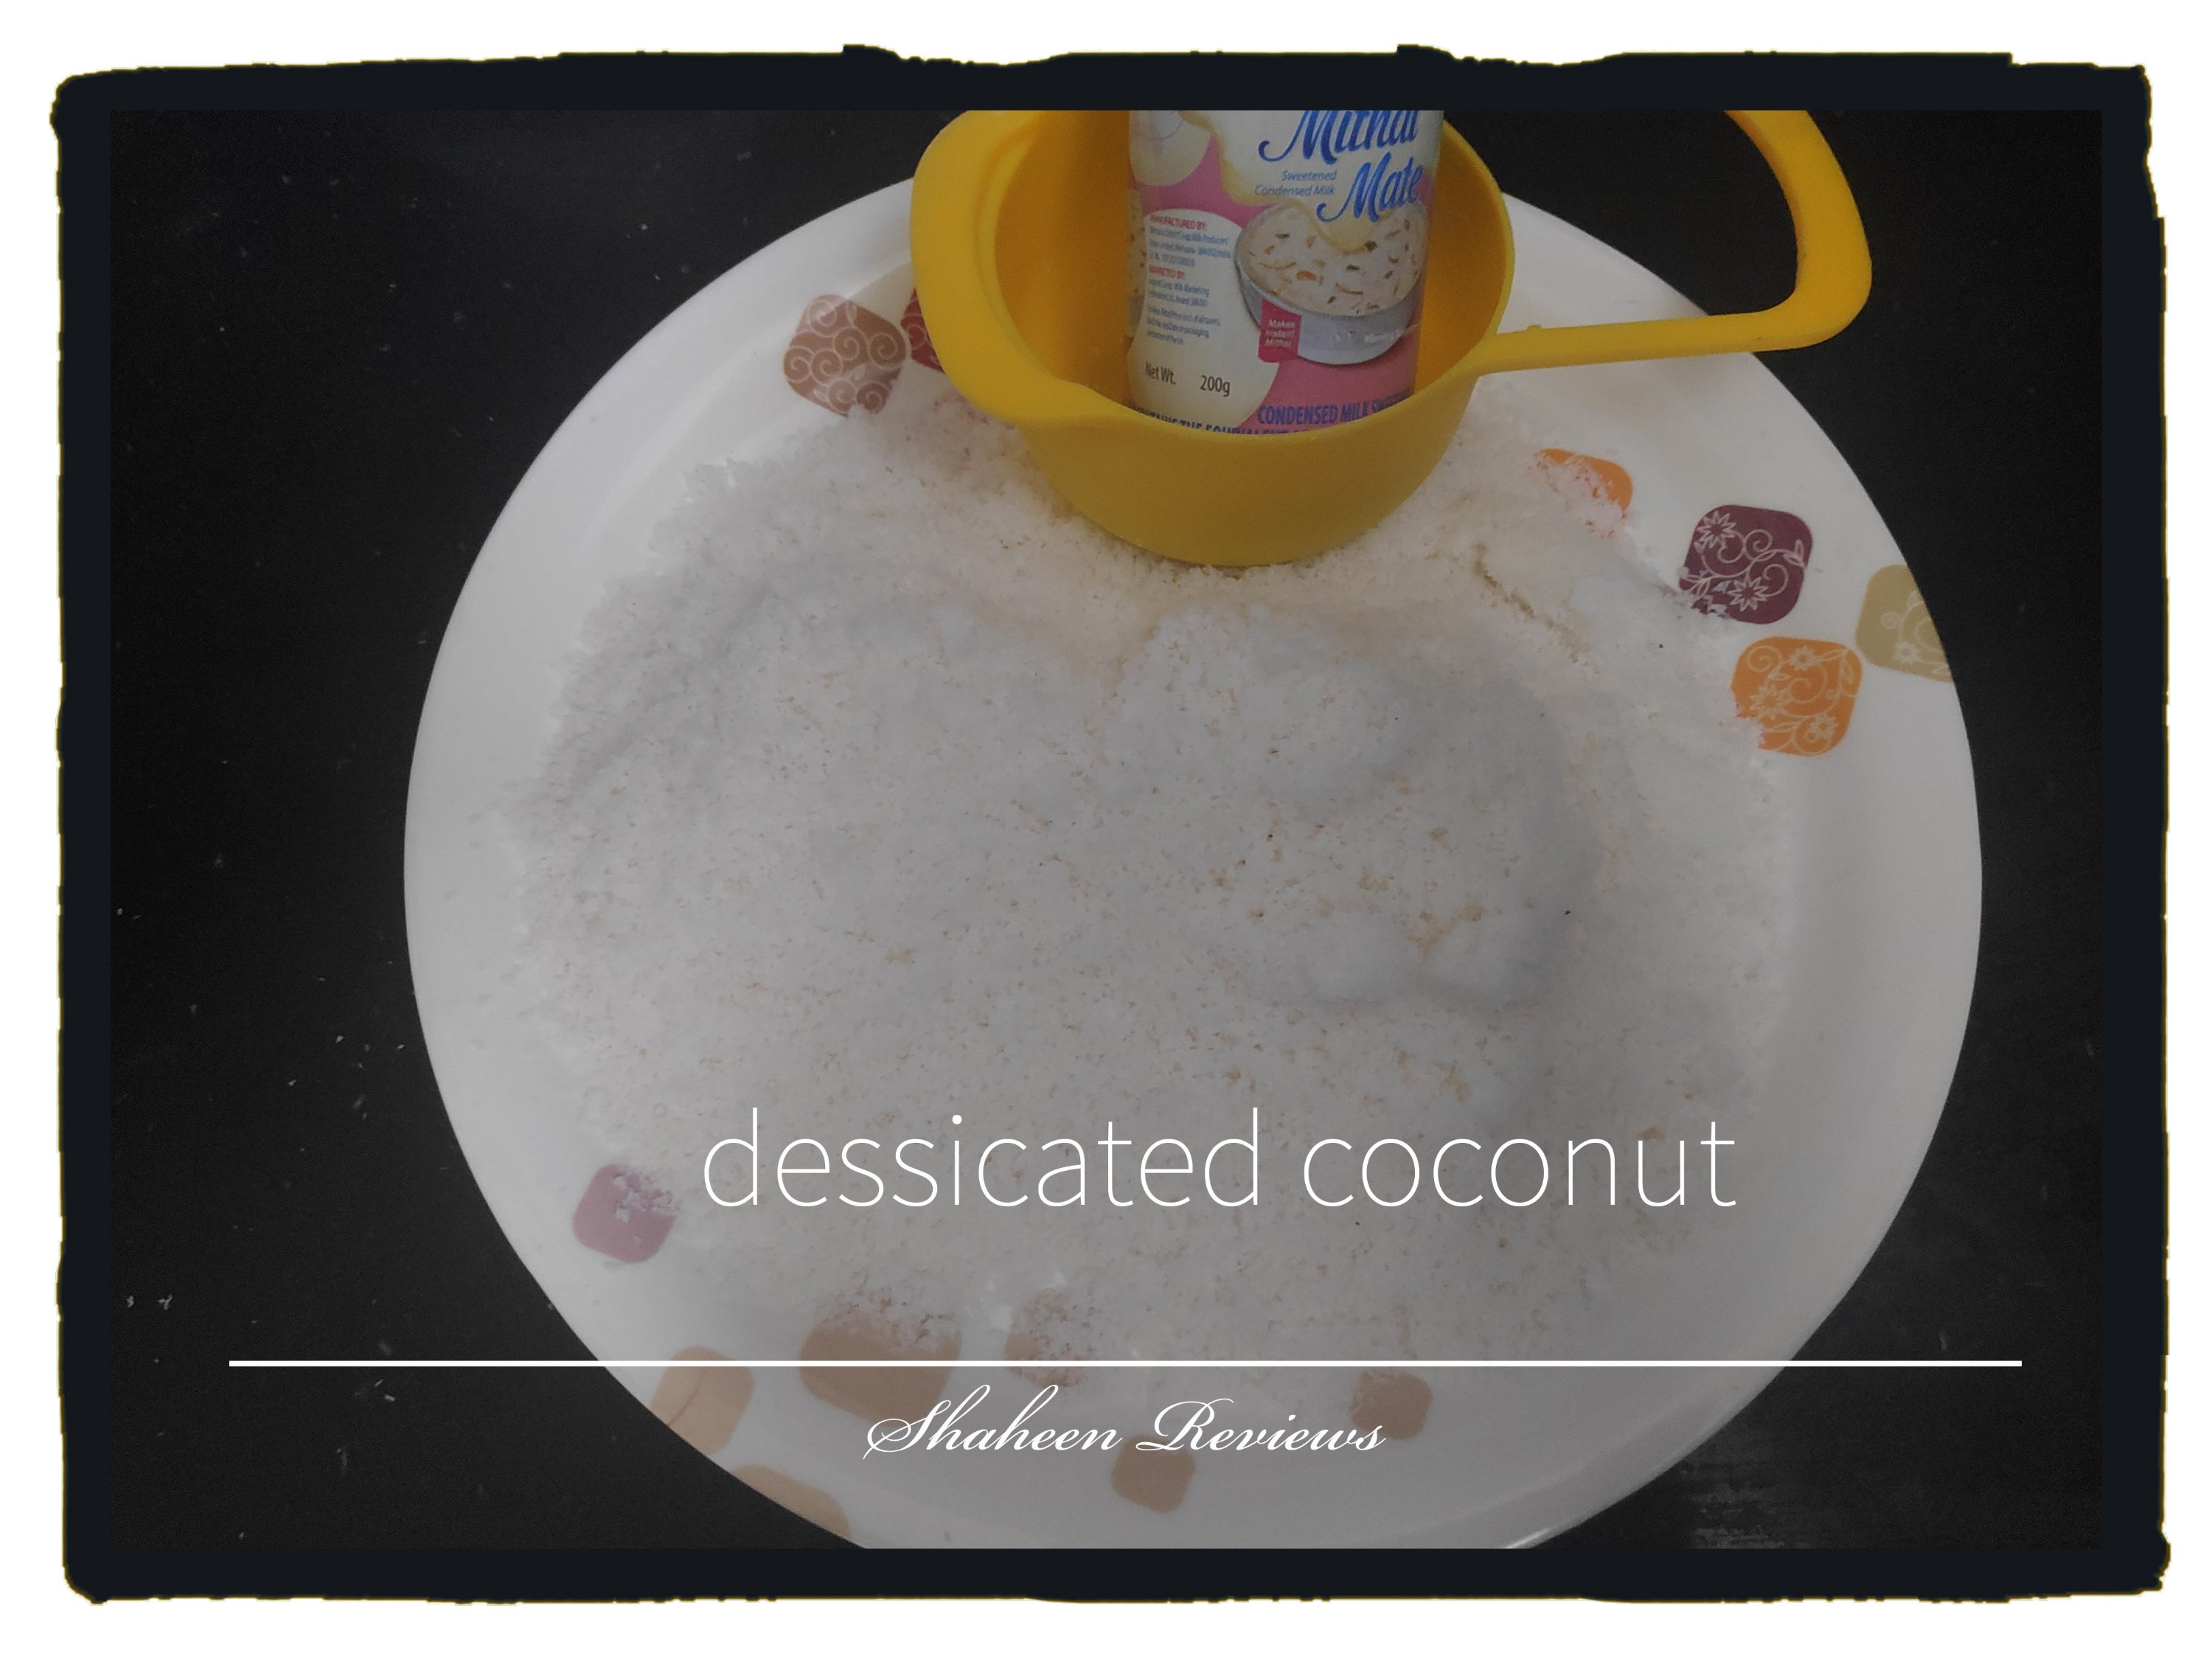
This recipe needs just 2 ingredients, but you can add some more optional ingredients to make it even more special.
I always keep condensed milk cans and dry coconut powder in my pantry, these 2 ingredients are used in making many dishes.
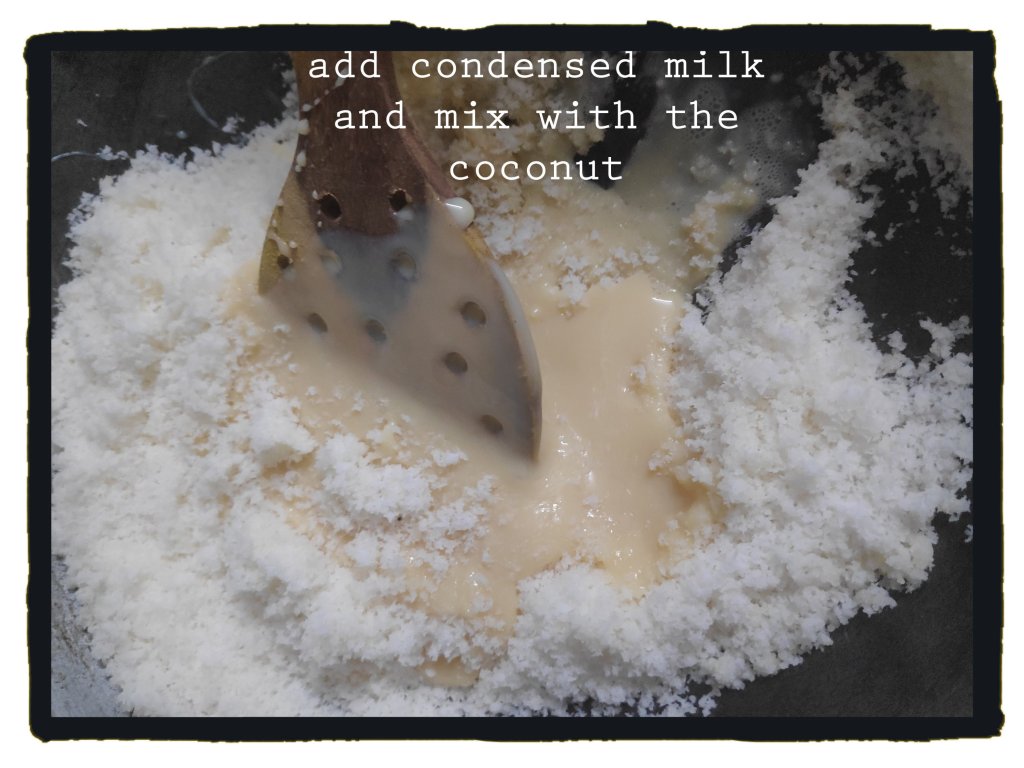
In a nutshell, you just need to add the condensed milk to the coconut powder and make delicious balls out of it.
This laddoo recipe is very versatile, just take these two ingredients (coconut and condensed milk) and ad or subtract the other suggested ingredients to get a new flavor everytime.
Make sure the dessicated coconut is not too coarse and is fresh, meaning it does not smell of oil. If it is very coarse, just pulse it in the mixie to get a finer texture.
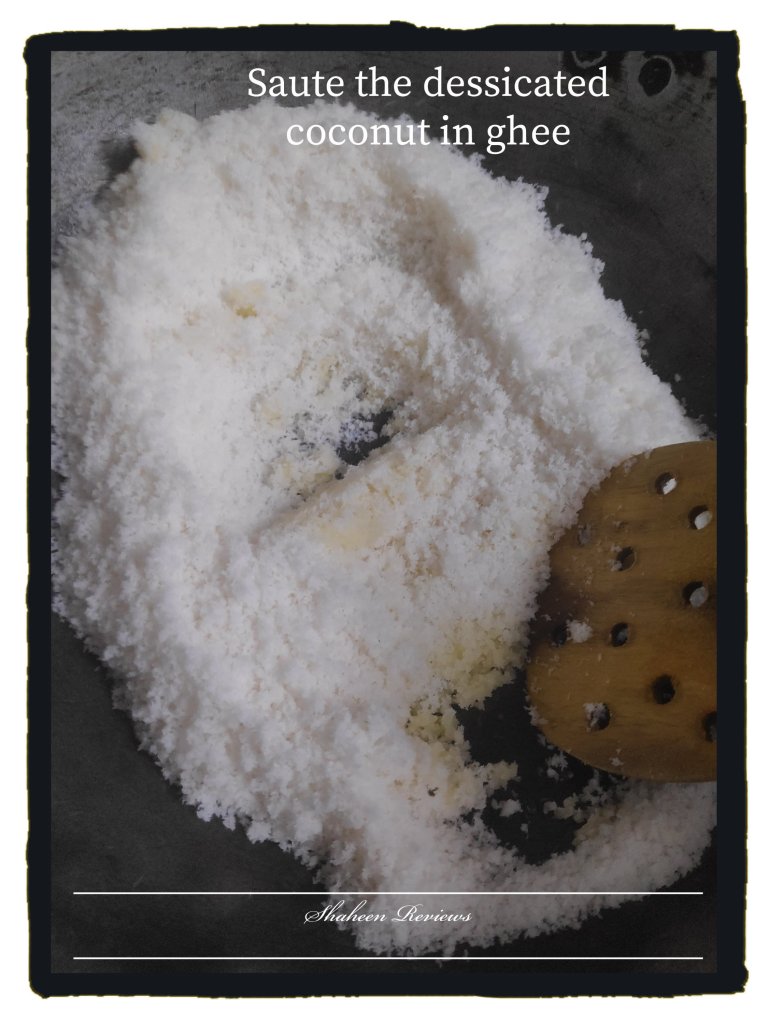
Take a heavy bottomed pan and put ghee, add the dessicated coconut (keep a tbsp or two aside for rolling the laddoos later ) and stir for a minute on low flame, add the condensed milk and mix well.
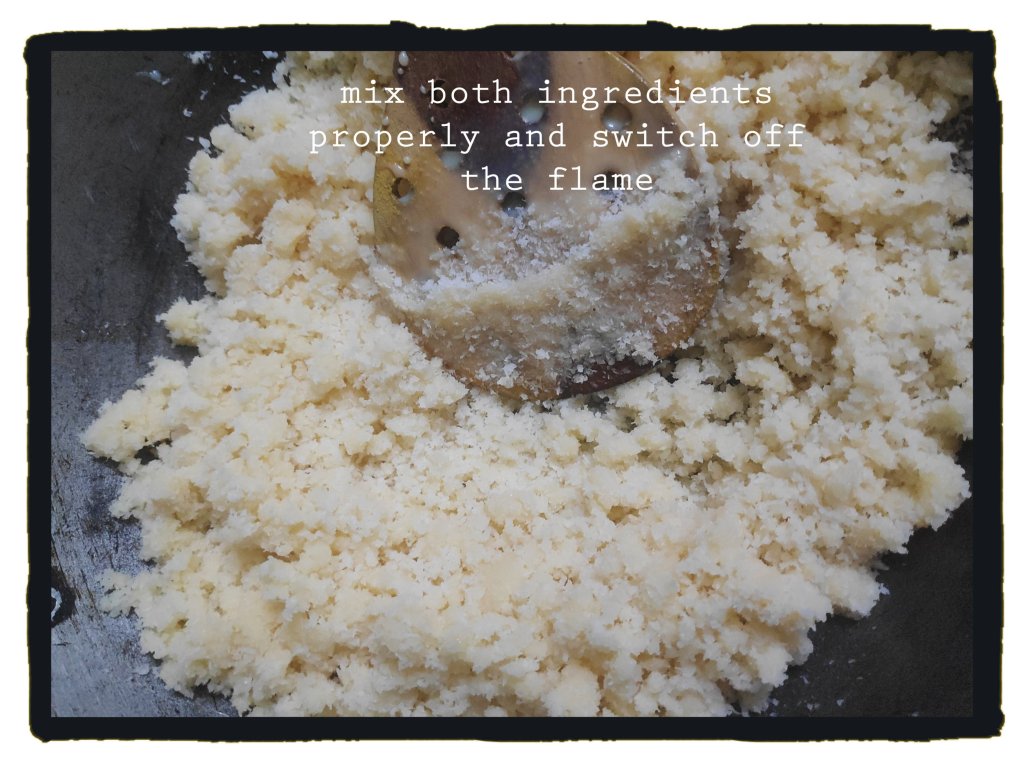
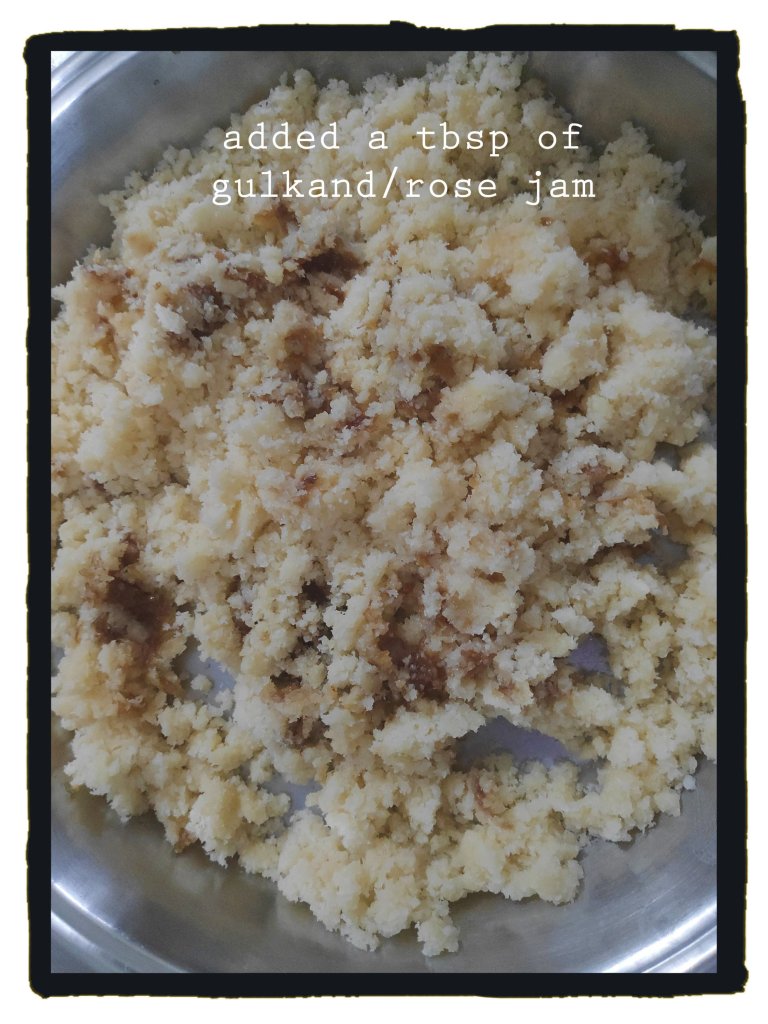
Switch off the flame and mix the two well with a spoon. Take it out on a plate and at this stage you can add powdered cardamoms, any dryfruits like raisins, or pistachios. I added a tbsp of Gulkand or rose jam for added fragrance and flavor.
Make sure the mixture is not very hot and then make small balls out of it. Roll the laddoos in some dessicated coconut and you are done. Delicious Nariyal laddoos are ready to be enjoyed.
If you like Pink laddoos, it can be made with the addition of some Rooh Afza sharbat, adjust the amount of condensed milk then.
Do you like coconut laddoos? How do you generally prepare these? What extra ingredients do you add? For what special occasion do you make coconut laddoos.
I originally made these laddoos for my toddler so that she can get some coconut benefits and nutrients. What other laddoos can be made for toddlers? Do let me know in the comments section.
If you try this recipe, then please don’t forget to tag me on Facebook-@ShaheenReviews or on Instagram- @shine2308
Nariyal laddoo, Nariyal laadoo, nariyal ke laddu kaise banaye, coconut ladoo with milkmaid, desiccated coconut ladoo recipe with condensed milk
Milkmaid ladoo, nariyal ke ladoo without mawa, milkmaid coconut ladoo recipe, nariyal burada laddoo, sukhe nariyal ke laddu, khopra laddoo
This post contains Amazon Affiliate Links. As an Amazon Associate, I may earn a small commission on any purchases made through those links, at no extra cost to you).